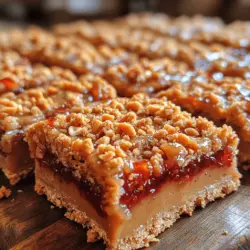
The nostalgic combination of peanut butter and jelly is a classic that evokes childhood memories for many. It’s a flavor pairing that transcends generations, often associated with lunchboxes, picnics, and after-school snacks. In this article, we will explore the delightful Peanut Butter and Jelly Bliss Bars—a modern twist on this beloved duo. Perfect for snacks, desserts, or even a quick breakfast, these bars are not only easy to make but also packed with flavor and nutrition. We will guide you through the ingredients, step-by-step instructions, and some interesting facts about the components that make these bars irresistible.
Understanding the Ingredients
To create the perfect Peanut Butter and Jelly Bliss Bars, it’s essential to understand the core ingredients that contribute to their delightful flavor and texture. Each component plays a crucial role in making these bars not just delicious but also nutritious.
The Role of Peanut Butter
Peanut butter is the star of this recipe, providing a rich, creamy texture and a nutty flavor that perfectly complements the sweetness of the jelly. Nutritionally, peanut butter is packed with protein, healthy fats, and several essential vitamins and minerals. The protein content helps to keep you feeling full and satisfied, making these bars an excellent option for a post-workout snack or a mid-afternoon pick-me-up.
When selecting peanut butter for your bliss bars, you have a few choices. Natural peanut butter, which contains just peanuts and salt, provides a more authentic flavor and is typically free of added sugars and unhealthy oils. On the other hand, conventional brands may offer sweeter varieties, but they often come with added ingredients that can detract from the health benefits. For the best balance of flavor and nutrition, consider using a natural peanut butter, either creamy or crunchy, depending on your texture preference.
Importance of Brown Sugar
Brown sugar is another vital ingredient in our bliss bars, contributing moisture and a rich, caramel-like flavor. Unlike white sugar, brown sugar retains some of the molasses, giving it a distinctive taste and color. This added moisture from the molasses not only enhances the flavor but also helps keep the bars soft and chewy.
In addition to its flavor benefits, brown sugar also has a lower glycemic index than white sugar, meaning it can provide a more stable source of energy without causing significant spikes in blood sugar levels. This makes it a great choice for those who want to enjoy a sweet treat without the crash that often follows refined sugars.
The Function of Oats and Flour
Rolled oats are a key ingredient in our Peanut Butter and Jelly Bliss Bars, providing a hearty texture that helps to bind the bars together. Oats are a fantastic source of whole grains, offering fiber that aids digestion and promotes a feeling of fullness. They also add a lovely chewiness that balances the creamy peanut butter and sweet jelly.
All-purpose flour acts as a binder in this recipe, helping to hold the bars together while providing structure. While oats add texture, flour ensures the bars maintain their shape during baking. If you’re looking for a gluten-free option, you can easily substitute with gluten-free flour blends, which will yield a similar result without compromising on flavor.
The Science of Baking Soda and Salt
Baking soda plays a crucial role in the texture of our bliss bars. It acts as a leavening agent, helping the bars rise slightly and contributing to a light, airy texture. When baking soda comes into contact with acidity (in this case, the peanut butter), it creates carbon dioxide bubbles, causing the batter to expand during baking.
Salt is equally important, as it enhances the overall flavor of the bars. While it might seem counterintuitive to add salt to a sweet recipe, a pinch of salt can help balance the sweetness of the sugar and jelly, creating a more complex flavor profile. It also intensifies the peanut butter’s natural flavors, making every bite more enjoyable.
Choosing the Right Sweetener
While brown sugar is a primary sweetener in this recipe, you may also consider using honey or maple syrup for added flavor. Honey offers a distinct floral sweetness and can enhance the bars’ moisture, while maple syrup brings a unique, earthy flavor that pairs beautifully with peanut butter.
Both honey and maple syrup come with their own health benefits. Honey is known for its natural antibacterial properties, while maple syrup contains antioxidants and minerals like manganese and zinc. When substituting these sweeteners, keep in mind that they are liquid, so you may need to adjust the dry ingredients accordingly to ensure the right consistency.
Jelly Varieties and Their Impact
No Peanut Butter and Jelly Bliss Bar would be complete without the jelly! The choice of jelly can significantly impact the overall taste of the bars. Traditional grape jelly is a popular choice, but you can also experiment with strawberry, raspberry, or even apricot preserves. Each jelly brings its own unique sweetness and tartness, creating a distinct flavor profile.
When selecting a jelly, consider choosing one with minimal added sugars and artificial ingredients. Natural fruit spreads or homemade jellies are excellent options, as they often contain more fruit and less sugar than store-bought alternatives. This will not only enhance the flavor but also provide a healthier twist on this classic treat.
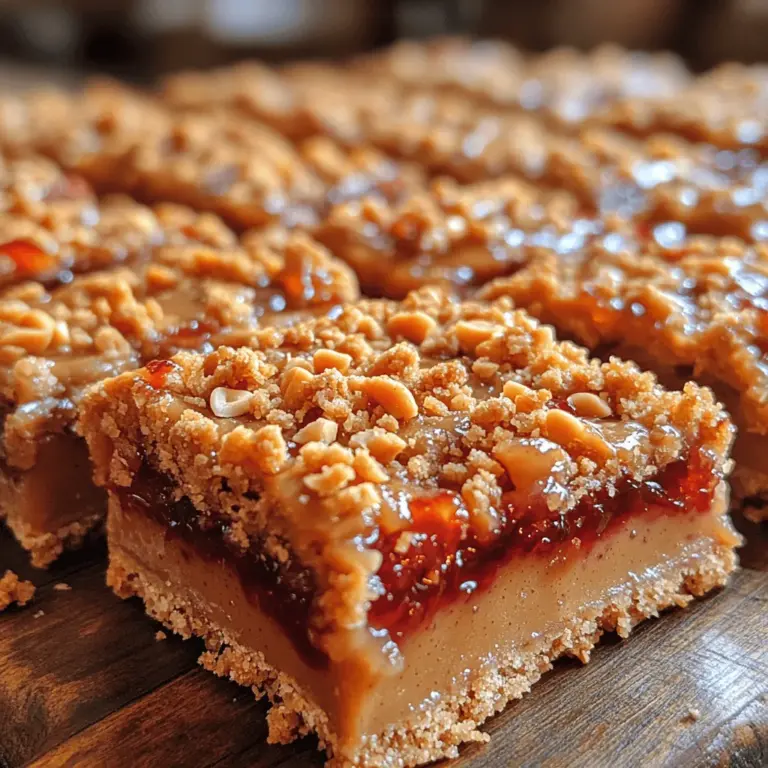
Optional Topping: Crushed Peanuts
For those who love an added crunch, consider topping your bliss bars with crushed peanuts. This optional ingredient not only enhances the texture but also boosts the nutritional value of the bars. Peanuts are an excellent source of protein and healthy fats, which can contribute to a balanced diet.
Sprinkling crushed peanuts on top of your bliss bars before baking will add a delightful crunch that contrasts beautifully with the soft, chewy texture of the bars. Plus, it provides an extra layer of peanut flavor that enhances the overall experience.
Step-by-Step Instructions for Bliss Bars
Now that we’ve explored the ingredients and their significance, it’s time to dive into the exciting process of creating these blissful bars. Follow these step-by-step instructions to ensure your Peanut Butter and Jelly Bliss Bars come out perfectly every time.
Prepping Your Kitchen and Equipment
Before you begin baking, it’s essential to prepare your kitchen and gather all necessary equipment. Preheat your oven to 350°F (175°C). This step is crucial, as baking in a preheated oven ensures even cooking and the right texture for your bars.
Next, prepare your baking pan. A 9×9-inch square pan is ideal for this recipe. Line the pan with parchment paper, allowing some overhang on the sides. This will make it easier to lift the bars out once they’re baked, ensuring perfect cuts and presentation.
Mixing the Wet Ingredients
In a large mixing bowl, combine your wet ingredients. Start with the peanut butter, and if you’re using natural peanut butter, make sure to stir it well to incorporate the oils. Add in the brown sugar and sweetener of your choice (honey or maple syrup). Using an electric mixer or a sturdy spatula, mix until you achieve a smooth and creamy consistency.
Once the peanut butter and sugars are well combined, beat in an egg if your recipe calls for it, as this will help bind the ingredients together. If you’re making a vegan version, consider using a flaxseed egg or applesauce as a substitute for the egg. This will keep the bars moist while maintaining a plant-based profile.
Combining Dry Ingredients for Success
In a separate bowl, whisk together your dry ingredients: rolled oats, all-purpose flour, baking soda, and salt. Mixing these dry components ensures even distribution of the leavening agent and salt throughout the batter. Once combined, gradually add the dry mixture to the wet ingredients, stirring gently until just combined. Be careful not to overmix, as this can lead to denser bars.
Once the dry and wet ingredients are thoroughly combined, fold in your choice of jelly. You can swirl it in for a marbled effect or mix it in completely for a more uniform flavor throughout the bars. The choice is yours!
This blend of flavors and textures is what makes Peanut Butter and Jelly Bliss Bars so appealing. They offer a modern take on a classic comfort food, bringing together the nostalgia of childhood with the convenience of a contemporary snack. In the following sections, we will delve deeper into the baking process and share tips for achieving the best results. Stay tuned as we guide you through the final steps of creating these delicious bars!
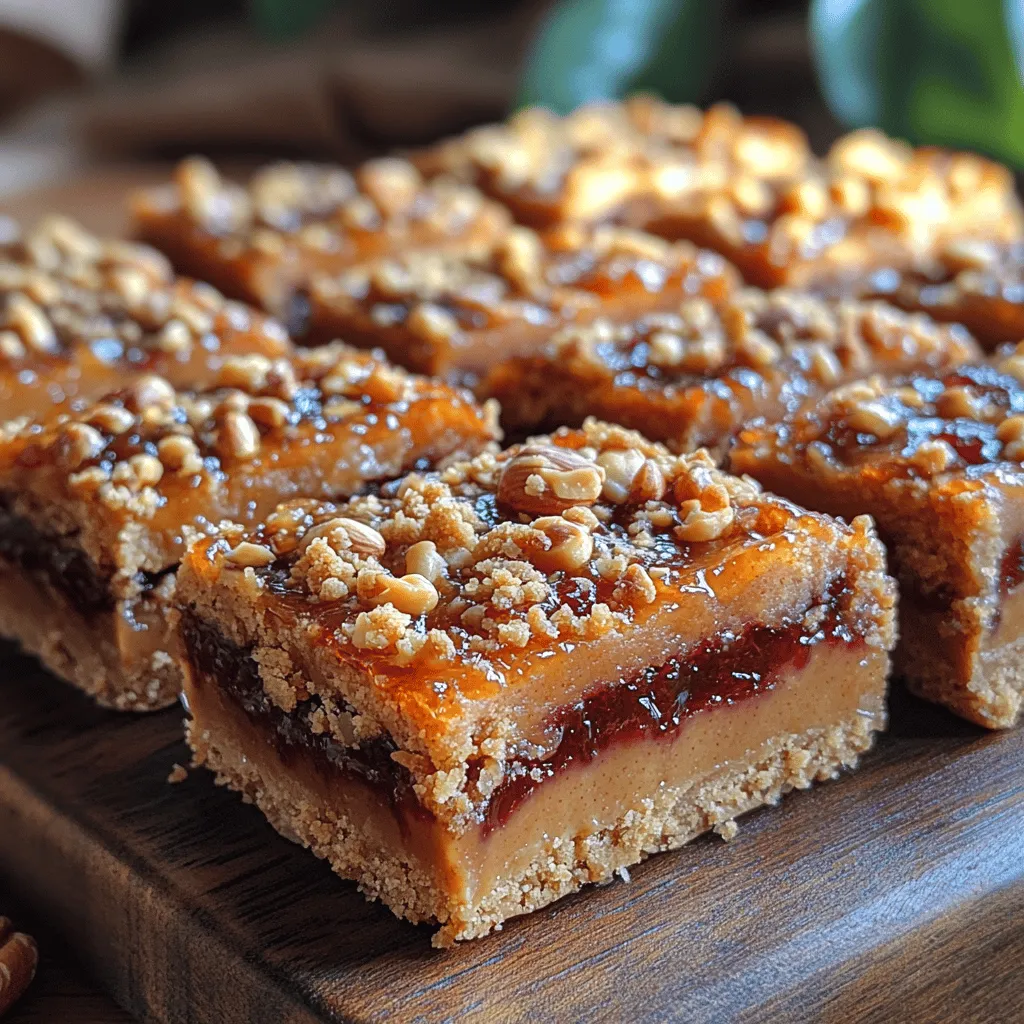
Layering Techniques for Peanut Butter and Jelly Bliss Bars
Achieving the perfect layering of your Peanut Butter and Jelly Bliss Bars is crucial for both aesthetics and flavor. When layering the peanut butter mixture with the jelly, it’s important to do so carefully to prevent tearing the base layer. Start by ensuring that the peanut butter mixture is evenly spread into the prepared baking dish, creating a solid foundation.
To layer the jelly, use a spoon or spatula to carefully dollop spoonfuls of jelly over the peanut butter base. Instead of spreading it immediately, let the jelly sit for a moment, allowing it to soften slightly. Then, use the back of a spoon to gently spread it, ensuring you don’t drag it too much into the peanut butter layer. This technique helps maintain the distinct layers of peanut butter and jelly, enhancing both the visual appeal and flavor profile of the bars.
Baking to Perfection
Once your layers are set, it’s time to bake the bars. Preheat your oven according to the recipe instructions, typically around 350°F (175°C). Pour your layered mixture into the prepared dish and smooth the top with a spatula. Bake for approximately 20-25 minutes, but keep a close eye on them as baking times can vary slightly depending on your oven and the thickness of the bars.
To check for doneness, look for a golden brown color on the edges and a slight puffing in the center. A toothpick inserted into the center should come out clean or with a few moist crumbs attached, but not wet batter. Overbaking can lead to dry bars, while underbaking may result in a gooey texture that won’t hold together well.
Cooling and Slicing Tips
After removing the bars from the oven, it’s essential to let them cool in the pan for at least 10-15 minutes before transferring them to a wire rack. Cooling is crucial as it allows the bars to firm up, making slicing much easier and preventing them from falling apart. Once they are cool to the touch, use a sharp knife to slice them into squares or rectangles. If you want perfectly even slices, consider using a ruler to measure and mark where you’ll cut before actually slicing.
For an additional touch, you can dust the tops with powdered sugar or drizzle melted chocolate over the sliced bars for an extra layer of flavor and visual appeal.
The Health Benefits of Peanut Butter and Jelly Bliss Bars
Aside from being a delicious treat, Peanut Butter and Jelly Bliss Bars offer several health benefits, making them a guilt-free indulgence in moderation.
Nutritional Breakdown
Each bliss bar is typically a balanced combination of carbohydrates, healthy fats, and proteins. On average, a single bar may contain around 150-200 calories, depending on the specific ingredients used. You can expect about 8-10 grams of fat (mostly from the peanut butter), 15-20 grams of carbohydrates, 5-8 grams of sugars (from the jelly), and around 4-6 grams of protein.
This breakdown highlights the importance of portion control, as the bars can be quite rich and satisfying. They make for an excellent pre- or post-workout snack, providing the energy needed to power through your day.
Benefits of Whole Ingredients
The use of whole ingredients in your bliss bars contributes significantly to their nutritional profile. Oats, for instance, provide dietary fiber which aids digestion and helps maintain stable blood sugar levels. Peanut butter is a great source of protein and healthy fats, which are essential for muscle repair and overall health. Additionally, using natural fruit preserves for the jelly allows you to avoid excess added sugars and preservatives often found in commercial jellies.
By choosing whole ingredients, you not only enhance the nutritional value of the bars but also support a balanced diet that can help you feel fuller for longer.
Potential Modifications for Dietary Needs
For those with specific dietary needs, there are several modifications you can make without compromising flavor. If you require a gluten-free option, simply swap out regular oats for certified gluten-free oats. For vegan alternatives, consider using maple syrup as a sweetener in place of honey or using a plant-based butter instead of traditional peanut butter.
Additionally, you can explore nut-free alternatives for schools or environments with nut allergies. Sunflower seed butter can be a great substitute that still provides a creamy texture and nutty flavor.
Creative Variations and Serving Suggestions
One of the joys of making Peanut Butter and Jelly Bliss Bars is the ability to customize them to suit your tastes and preferences. Here are a few creative variations and serving suggestions to inspire your next batch.
Flavor Twist: Nut Butters and Jellies
Why stop at peanut butter? Experiment with almond butter, cashew butter, or even mixed nut butters for a different flavor profile. Each nut butter brings its own unique taste and nutritional benefits. Similarly, try using different jelly or jam flavors, such as raspberry, strawberry, or an exotic fruit preserve like mango or passion fruit, to keep your bars exciting.
Adding Fruits or Nuts for Variety
For added texture and flavor, consider incorporating sliced bananas or chopped nuts such as walnuts or almonds into the mixture. These additions not only enhance the taste but also provide additional nutrients. Just be mindful of the extra moisture fruits can bring, and adjust the baking time as necessary to ensure the bars set perfectly.
Serving Ideas for Different Occasions
These bliss bars are versatile enough for various settings. For a fun party treat, cut them into bite-sized squares and arrange them on a platter. Pair them with fresh fruit and a side of yogurt for a delightful dessert. For picnics, wrap them individually in parchment paper for easy transport. They also make for a nourishing lunchbox snack that both kids and adults will love.
Conclusion: The Joy of Homemade Peanut Butter and Jelly Bliss Bars
Creating your own Peanut Butter and Jelly Bliss Bars at home is not only a simple and enjoyable process but also a fantastic way to indulge in a classic flavor combination with a twist. These bars embody the essence of comfort food, offering a nostalgic experience while being packed with wholesome ingredients.
Whether you’re baking with family or whipping up a batch for yourself, these bliss bars can become a cherished recipe in your repertoire. With their easy preparation, delightful taste, and nutritional benefits, they are bound to be a favorite treat that you can feel good about sharing. Embrace the joy of homemade goodness, and enjoy these Peanut Butter and Jelly Bliss Bars as a satisfying snack or dessert that brings smiles to faces young and old alike.