
No-Bake S’mores Cheesecake Jars
S’mores are more than just a delicious treat; they evoke memories of summer nights spent around a crackling campfire, surrounded by friends and family. The combination of gooey marshmallows, rich chocolate, and crunchy graham crackers has earned its place as a cherished classic in many households. However, as much as we love the traditional s’mores experience, the process of toasting marshmallows and assembling all the components can be a bit cumbersome, especially when you’re craving that sweet indulgence without the hassle. Enter the no-bake s’mores cheesecake jar, a modern twist on the beloved campfire treat that captures all the nostalgic flavors while offering a simple, elegant presentation.
This no-bake dessert is not only incredibly easy to make but also perfect for any occasion, whether it’s a summer barbecue, a cozy family gathering, or a casual weeknight indulgence. With just a few simple ingredients and minimal preparation time, you can create an impressive dessert that will leave your guests raving about your culinary prowess. The beauty of the no-bake cheesecake jars lies in their versatility; you can prepare them in advance and have them ready to serve whenever the craving strikes.
The Allure of No-Bake Desserts
In our fast-paced lives, convenience is key, and no-bake desserts have emerged as a go-to solution for those who want to enjoy something sweet without spending hours in the kitchen. These recipes require little to no cooking, making them ideal for busy individuals, families, or anyone who prefers a straightforward approach to dessert-making. No-bake recipes allow you to focus on the fun aspects of baking—like mixing, layering, and decorating—while eliminating the stress of baking times and temperature checks.
Moreover, no-bake desserts are incredibly versatile, suitable for any occasion from festive holiday gatherings to casual summer picnics. The ease of preparing these treats means you can whip up multiple flavors and variations without feeling overwhelmed. Whether you’re experimenting with different fillings, toppings, or even jar sizes, the options are endless. This no-bake s’mores cheesecake jar is a perfect example of how you can take a classic flavor profile and turn it into a delightful dessert that fits any event or mood.
Understanding the Ingredients
To create the perfect no-bake s’mores cheesecake jars, it’s essential to understand the key ingredients that contribute to the dessert’s overall texture, flavor, and appeal.
Graham Cracker Crust
The foundation of this delicious dessert is the graham cracker crust, which mirrors the essential components of a traditional s’more. The crust consists of graham cracker crumbs, unsalted butter, and granulated sugar.
– Graham Cracker Crumbs: These crumbs form the base of the crust, providing a sweet, slightly nutty flavor that pairs beautifully with the creamy filling. The texture of the crumbs is crucial; they need to be finely crushed to create a smooth, even layer that holds together well when pressed into the jar.
– Unsalted Butter: The melted butter acts as a binding agent, helping to hold the crumbs together while adding richness and moisture to the crust. It’s important to use unsalted butter to control the overall sweetness of the dessert.
– Granulated Sugar: A small amount of sugar enhances the sweetness of the crust, balancing the flavors of the cheesecake filling.
The combination of these ingredients results in a crust that is both flavorful and texturally satisfying, providing the perfect contrast to the creamy cheesecake layer.
Cheesecake Filling
The star of the show is undoubtedly the cheesecake filling, which is creamy, rich, and packed with flavor. The main ingredients include cream cheese, powdered sugar, vanilla extract, heavy whipping cream, mini marshmallows, and chocolate chips.
– Cream Cheese: This is the primary ingredient in the cheesecake filling, providing a smooth and creamy texture that forms the base of the dessert. Be sure to use softened cream cheese for easy mixing.
– Powdered Sugar: This ingredient adds sweetness to the filling while also helping to achieve a smooth consistency. The fine texture of powdered sugar ensures that there are no gritty bits left in the mixture.
– Vanilla Extract: A splash of vanilla extract enhances the overall flavor profile, adding depth and warmth to the cheesecake.
– Heavy Whipping Cream: Whipped to soft peaks, this ingredient adds lightness and airy texture to the filling. The incorporation of whipped cream creates that luxurious mouthfeel that you expect from a cheesecake.
– Mini Marshmallows: These little bites of sweetness not only add flavor but also contribute to the overall marshmallowy essence of the s’mores.
– Chocolate Chips: Semi-sweet chocolate chips bring a rich, chocolatey flavor that complements the other ingredients and ties the entire dessert together.
When combined, these ingredients create a luscious cheesecake filling that’s both indulgent and satisfying, reminiscent of the classic s’mores flavor we all know and love.
Toppings
To finish off your no-bake s’mores cheesecake jars, you’ll want to consider the toppings that will elevate the presentation and add extra layers of flavor and texture.
– Mini Marshmallows: A generous sprinkle of mini marshmallows on top creates that iconic s’mores look while also adding a soft, chewy texture.
– Chocolate Shavings: Adding chocolate shavings or drizzles enhances the chocolate flavor and creates a visually appealing contrast against the creamy filling.
– Additional Graham Cracker Crumbs: A light dusting of graham cracker crumbs adds crunch and reinforces the s’mores theme, making each bite even more delightful.
These toppings not only make your cheesecake jars look inviting but also create an exciting combination of textures that will delight your taste buds.
Step-by-Step Instructions
Creating the Graham Cracker Crust
Now that we’ve explored the ingredients, let’s dive into the first step of crafting your no-bake s’mores cheesecake jars: creating the graham cracker crust.
1. Crush the Graham Crackers: Start by placing your graham crackers in a food processor. Pulse until you achieve a fine crumb consistency. If you don’t have a food processor, you can place the graham crackers in a resealable plastic bag and crush them with a rolling pin.
2. Mix the Ingredients: In a mixing bowl, combine the graham cracker crumbs with granulated sugar. Stir until well blended. Next, pour in the melted unsalted butter and mix until the crumbs are evenly coated. The mixture should resemble wet sand and hold together when pressed.
3. Press into Jars: Select your jars or serving cups and begin to layer the crust. Use about two tablespoons of the graham cracker mixture for each jar. Press the mixture firmly into the bottom of the jar using the back of a spoon or your fingers. Ensure an even layer, as this will serve as the base for your creamy filling.
4. Chill the Crust: To help the crust set, place the jars in the refrigerator for about 10-15 minutes while you prepare the cheesecake filling. This will ensure that the crust holds its shape when you add the filling.
With the graham cracker crust complete, you’re well on your way to creating a delectable no-bake s’mores cheesecake jar that will impress anyone who gets a taste. Stay tuned for the next steps where we will walk through the preparation of the cheesecake filling and the assembly of your delightful dessert.
Preparing the Cheesecake Filling
To create the luscious filling for your No-Bake S’mores Cheesecake Jars, begin by gathering your ingredients: cream cheese, powdered sugar, vanilla extract, and heavy whipping cream. The key to a smooth, velvety filling lies in the mixing techniques you employ. Start by softening the cream cheese at room temperature for about 15-20 minutes; this step is crucial as it eliminates lumps when mixing.
In a large mixing bowl, use an electric mixer to beat the softened cream cheese until it becomes creamy and smooth. Gradually add the powdered sugar and vanilla extract while continuing to mix. This process not only sweetens the filling but also infuses it with a rich flavor.
Next, let’s talk about the whipped cream. In a separate bowl, pour in the heavy whipping cream and whip it using an electric mixer until stiff peaks form. This means that when you lift the beaters out of the cream, it should hold its shape without drooping. For optimal results, ensure that your mixing bowl and beaters are cold; chilling them for about 10 minutes in the freezer can enhance the whipping process.
The folding technique is essential here. Once you have the whipped cream ready, gently incorporate it into the cream cheese mixture. Use a spatula to fold the whipped cream into the mixture, rather than stirring vigorously. This method helps maintain the airiness and lightness of the whipped cream, ensuring your cheesecake filling is light and fluffy, rather than dense.
Assembling the Cheesecake Jars
Now that your cheesecake filling is ready, it’s time to assemble the jars. Start by preparing your serving containers—clear glass jars or cups work beautifully, allowing the layers to be visible and enhancing the visual appeal of your dessert.
Begin with a layer of the graham cracker crust at the bottom of each jar. You can make the crust by crushing graham crackers and mixing them with melted butter and a pinch of sugar. Press this mixture down firmly to create a base. Next, add a generous layer of the cheesecake filling on top of the crust. Depending on the size of your jars, aim for about 1/3 of the jar to be filled with the cheesecake mixture.
Continue layering by adding another layer of graham cracker crust followed by more cheesecake filling. Repeat until you reach the top of the jar, leaving a little space for the finishing touches. The alternating layers not only provide a delightful textural contrast but also create a beautiful visual effect that is sure to impress your guests.
Chilling the Cheesecake
Once you’ve assembled your jars, it’s time for the most crucial step: chilling. Cover the jars with lids or plastic wrap to prevent any odors from the refrigerator from affecting the flavors of your cheesecake. The chilling process allows the filling to set and the flavors to meld beautifully, creating a rich, creamy dessert that’s hard to resist.
Ideally, you should refrigerate the cheesecake jars for at least 4 hours, but for best results, aim for an overnight chill. This will enhance the texture and flavor, making each bite a delicious combination of creamy cheesecake and crunchy crust.
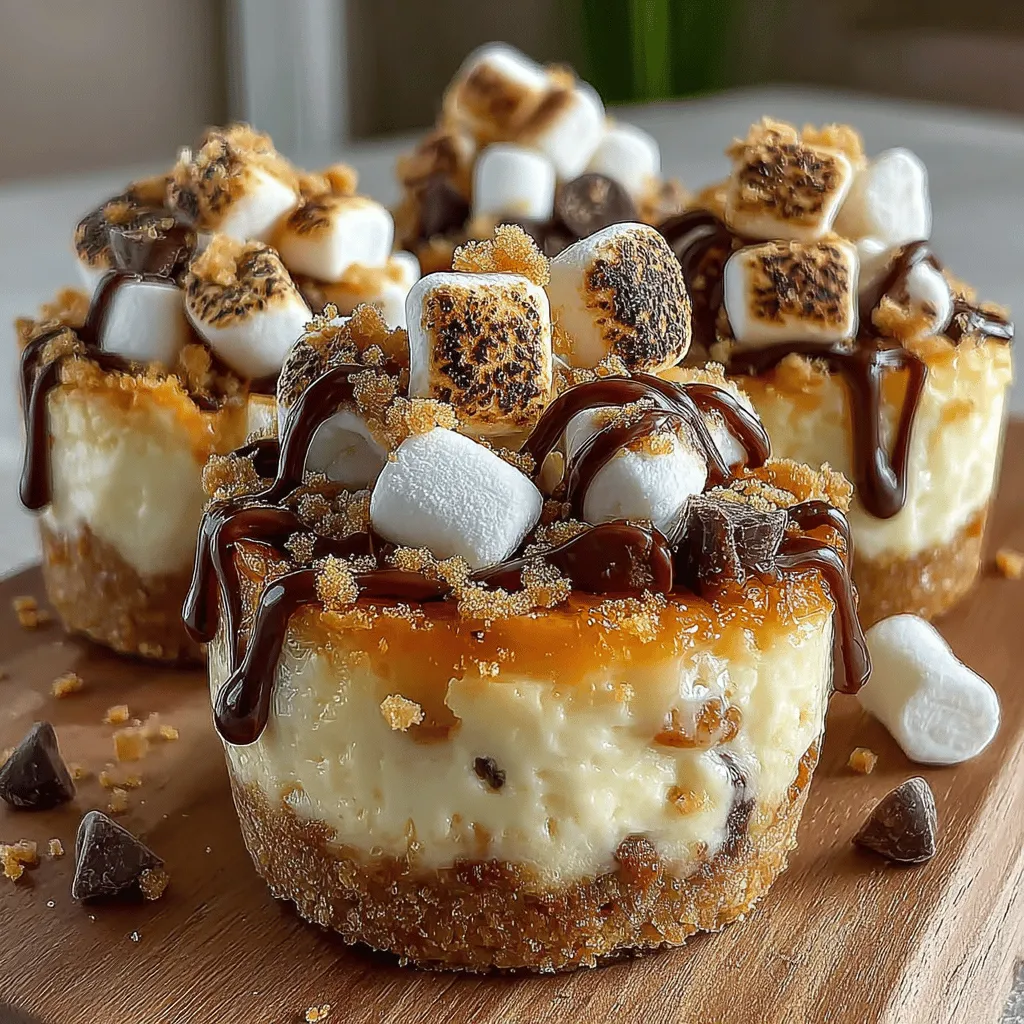
Adding the Finishing Touches
To elevate your No-Bake S’mores Cheesecake Jars, consider adding some delightful finishing touches. A classic touch is to toast mini marshmallows for that authentic s’mores flavor. You can do this using a kitchen torch, which allows you to achieve that perfectly golden, toasted finish. Simply skewer a few marshmallows on a toothpick for ease and carefully toast them until they are golden brown.
Another creative idea is to drizzle melted chocolate over the top of the jars. This addition not only enhances the flavor but also adds a visual appeal that makes the dessert even more enticing. You can also sprinkle some extra crushed graham crackers or mini chocolate chips on top for added texture.
Nutritional Insights
As delightful as this dessert is, it’s essential to be aware of its nutritional content. Each jar of No-Bake S’mores Cheesecake contains a balance of carbohydrates, fats, and proteins, making it a satisfying indulgence. However, in the spirit of moderation, it’s wise to enjoy these jars as an occasional treat rather than a daily indulgence.
For those with dietary preferences, consider making some simple ingredient substitutions. For a gluten-free version, use gluten-free graham crackers or a nut-based crust. You can also substitute the cream cheese with a vegan alternative, and opt for coconut cream instead of heavy whipping cream for a dairy-free option. These adjustments ensure that everyone can enjoy this delicious dessert, regardless of dietary restrictions.
Serving Suggestions and Pairings
No-Bake S’mores Cheesecake Jars are perfect for a variety of occasions. Whether you’re hosting a summer party, celebrating a family gathering, or enjoying a casual get-together with friends, these jars are sure to be a hit. Their individual servings make them easy to share, and their delightful flavors will leave everyone craving more.
To complement the rich flavors of your dessert, consider pairing it with beverages that enhance the s’mores experience. A chilled glass of milk is a classic choice, but for a more adult twist, a robust coffee or a rich hot chocolate can elevate the dessert to new heights. For a refreshing option, serve with iced tea or a fruity berry lemonade, providing a delightful contrast to the decadent cheesecake.
Conclusion
In summary, No-Bake S’mores Cheesecake Jars are not only simple to make but also a delicious treat that brings the beloved flavors of s’mores to a new level. With just a few key ingredients and some straightforward steps, you can create a rich, creamy dessert that’s perfect for any occasion. The delightful combination of textures and flavors—from the crunchy graham cracker crust to the smooth cheesecake filling and the toasted marshmallows—creates an unforgettable experience.
So why not give this recipe a try? Embrace the joy of creating and sharing homemade desserts with your loved ones. Let each jar of No-Bake S’mores Cheesecake be a reminder of the simple pleasures in life—indulgence, togetherness, and the sweet taste of nostalgia. Enjoy every bite, and share your culinary creation with friends and family for a delightful dessert experience that will surely be remembered.
