Crunchy Chicken Euphoria Recipe
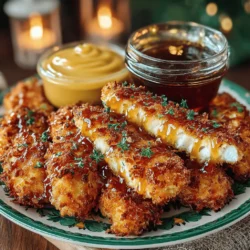
When it comes to comfort food, few dishes rival the satisfaction of perfectly crispy chicken tenders. Enter the Crunchy Chicken Euphoria recipe, a dish that combines the unmistakable crunch of a well-fried exterior with the juicy tenderness of chicken, creating an irresistible culinary experience. This recipe is not just about fried chicken; it’s about the euphoria that comes from biting into a perfectly cooked tender, complemented by a delightful dipping sauce.
Homemade chicken tenders have become a staple in many households, and for good reason. They offer a crispy texture that is difficult to replicate in store-bought versions, allowing you to enjoy a fresh, flavorful meal right from your kitchen. The appeal of chicken tenders transcends age groups, making them a favorite among children and adults alike. Whether served as a main dish with sides or enjoyed as a snack during game day, these tenders promise to please a crowd.
Understanding the Ingredients
To create Crunchy Chicken Euphoria, it’s essential to understand the key ingredients that contribute to its delectable flavor and texture. At the heart of this dish are boneless, skinless chicken breasts. Choosing this cut of meat is crucial; it ensures tenderness and makes the cooking process simpler, allowing the chicken to absorb the flavors from the seasoning and coating effectively.
The coating is where the magic happens. A combination of all-purpose flour, eggs, and breadcrumbs provides the foundation for that coveted crispy exterior. The flour serves as the first layer, helping the egg adhere to the chicken while also contributing to the crunch. The eggs, whisked until smooth, act as a binding agent, helping the breadcrumbs stick and ensuring a uniform coating.
When it comes to the breadcrumbs, the choice of using Panko is a game changer. Panko breadcrumbs, originating from Japan, are coarser and lighter than traditional breadcrumbs, resulting in a crunchier texture that elevates your chicken tenders to a new level.
Flavor enhancers such as garlic powder, onion powder, and paprika play a pivotal role in the seasoning mixture. These spices not only add depth to the overall flavor profile but also complement the natural taste of the chicken, ensuring that every bite is packed with savory goodness.
Finally, no chicken tender experience is complete without a dipping sauce. In this recipe, a honey mustard dip is introduced, providing a perfect balance of sweetness and tanginess. This easy-to-make sauce is not only a delightful accompaniment but also enhances the overall enjoyment of the dish.
Step-by-Step Preparation of Crunchy Chicken Tenders
Preparing the Chicken
The first step in creating your Crunchy Chicken Euphoria is preparing the chicken itself. Start by ensuring you have boneless, skinless chicken breasts. Rinse them under cold water and pat them dry with paper towels. This step is crucial, as moisture can hinder the coating process and lead to soggy chicken.
Next, slice the chicken breasts into even strips, about 1 inch thick. Uniformity is important; it ensures that all pieces cook at the same rate, preventing any from being overdone or undercooked. Once cut, place the chicken strips in a bowl and season generously with salt and pepper. This initial seasoning is vital for enhancing the chicken’s flavor before the coating process begins.
Creating the Seasoning Mixture
The seasoning mixture is where you can get creative. In a separate bowl, combine all-purpose flour with garlic powder, onion powder, paprika, and a pinch of salt. The ratios can be adjusted according to your taste preference, but a standard blend might include 1 cup of flour, 1 teaspoon of garlic powder, 1 teaspoon of onion powder, and ½ teaspoon of paprika. Mix these ingredients thoroughly to ensure an even distribution of spices.
This seasoned flour will form the first layer of your chicken tenders. The importance of this mixture cannot be overstated, as it not only adds flavor but also helps to create a barrier that locks in moisture during cooking.
The Coating Process
Now that the chicken is prepared and the seasoning mixture is ready, it’s time to coat the chicken strips. Begin by setting up a dredging station with three separate bowls: one for the seasoned flour, one for the beaten eggs, and one for the Panko breadcrumbs.
1. Dredge in Flour: Start with a chicken strip and coat it in the seasoned flour, ensuring it’s fully covered. Shake off any excess flour; too much flour can lead to clumping and a less desirable texture.
2. Dip in Egg: Next, dip the floured chicken strip into the beaten eggs, allowing the excess to drip off. This layer acts as the adhesive for the breadcrumbs.
3. Coat with Panko: Finally, roll the chicken in the Panko breadcrumbs, pressing gently to ensure an even coating. This is where the extra crunch comes from. Make sure each piece is thoroughly coated, and set it aside on a baking sheet lined with parchment paper.
Tips for Even Coating
To achieve an even coating without clumps, ensure that you’re using a light touch when handling the chicken. A common mistake is to rush through this process, leading to uneven layers. Take your time, and if necessary, use one hand for wet ingredients (egg) and the other for dry (flour and Panko) to minimize mess and maximize efficiency.
Heating the Oil
As you prepare the chicken, it’s essential to focus on the frying process. The right oil temperature is crucial for achieving that perfect crispy finish. A deep-fryer or a heavy-bottomed pot is ideal for frying. Fill it with about 2 to 3 inches of oil and heat it to around 350°F (175°C). Using a thermometer is the best way to ensure accuracy.
If you don’t have a thermometer, you can test the oil’s readiness by dropping a small piece of bread into the oil. If it sizzles and browns in about 60 seconds, the oil is ready. Properly heated oil is vital; if the oil is too cool, the chicken will absorb too much oil and become greasy. Conversely, oil that is too hot can lead to burnt breadcrumbs before the chicken is even cooked through.
Safety is also paramount during this step. Always be cautious when working with hot oil to prevent burns. Use a slotted spoon or a spider strainer to gently lower the chicken tenders into the oil and avoid overcrowding the pan, which can lower the oil temperature.
By following these initial steps, you’ll be well on your way to creating a delicious batch of Crunchy Chicken Euphoria. The combination of crispy coating, tender chicken, and zesty dipping sauce will surely make this dish a standout in your culinary repertoire. Stay tuned for the next part, where we’ll explore the frying process and how to achieve that golden-brown perfection.
Frying the Chicken Tenders
Frying chicken tenders to perfection is both an art and a science. Follow these step-by-step instructions to achieve that desired crunchy texture and golden-brown color.
Step-by-Step Guide on Frying Chicken Tenders
1. Heat the Oil: In a deep skillet or frying pan, pour enough oil to submerge the chicken tenders about halfway. Heat the oil over medium-high heat until it reaches 350°F (175°C). Use a cooking thermometer for accuracy.
2. Fry in Batches: To achieve the crispiest results, fry the chicken tenders in batches. This prevents overcrowding in the pan, which can lower the oil temperature and lead to soggy tenders. Aim to fry about 3-4 tenders at a time.
3. Carefully Add the Chicken: Using tongs, gently lower the chicken tenders into the hot oil. Avoid dropping them in from a height, as this can cause hot oil to splatter.
4. Fry Until Golden: Fry each batch for about 4-5 minutes on one side, then flip and cook for another 3-4 minutes until both sides are golden brown. The chicken should reach an internal temperature of 165°F (74°C).
5. Visual Cues for Perfect Doneness: Look for a deep golden color and a crisp texture. The chicken should feel firm when pressed.
6. Drain Excess Oil: Once cooked, use a slotted spoon to remove the chicken tenders from the oil. Place them on a plate lined with paper towels to absorb excess oil, ensuring a healthier finish.
Importance of Frying in Batches
Frying in smaller batches is crucial for maintaining consistent oil temperature. When you add too many chicken tenders at once, the oil cools down, leading to uneven cooking. By keeping the temperature steady, you ensure that every piece achieves that sought-after crunch.
Crafting the Honey Mustard Dip
No crunchy chicken tender is complete without a dipping sauce that complements its flavor. The honey mustard dip is a perfect balance of sweetness and tanginess.
Ingredients and Their Roles in the Dip
– Honey: Provides natural sweetness and helps balance the sharpness of the mustard.
– Dijon Mustard: Adds a tangy flavor that elevates the overall taste of the dip.
– Mayonnaise: Gives a creamy texture, ensuring the dip is smooth and rich.
– Apple Cider Vinegar: A splash enhances the tanginess and brightness of the dip.
The Balance of Sweetness and Tanginess
The key to a delicious honey mustard dip lies in balancing the sweetness of honey with the tang of Dijon mustard. Adjust the proportions to suit your taste—if you prefer a sweeter dip, add more honey; for a sharper flavor, increase the mustard.
Method of Preparation
1. Combine Ingredients: In a small mixing bowl, combine ½ cup of mayonnaise, ¼ cup of Dijon mustard, and ¼ cup of honey.
2. Mix Well: Whisk the ingredients together until smooth.
3. Adjust Flavors: Taste the dip and adjust the sweetness or tanginess as desired. For a more complex flavor, consider adding a pinch of garlic powder or a squeeze of lemon juice.
Simple Mixing Technique for a Smooth Dip
Using a whisk or a fork, mix until all ingredients are fully incorporated. This ensures a creamy, lump-free dip that coats the chicken tenders perfectly.
Serving Suggestions for Crunchy Chicken Euphoria
Presentation can elevate your dish from good to great. Here are some creative serving suggestions to impress your guests.
Presentation Ideas for Serving Chicken Tenders
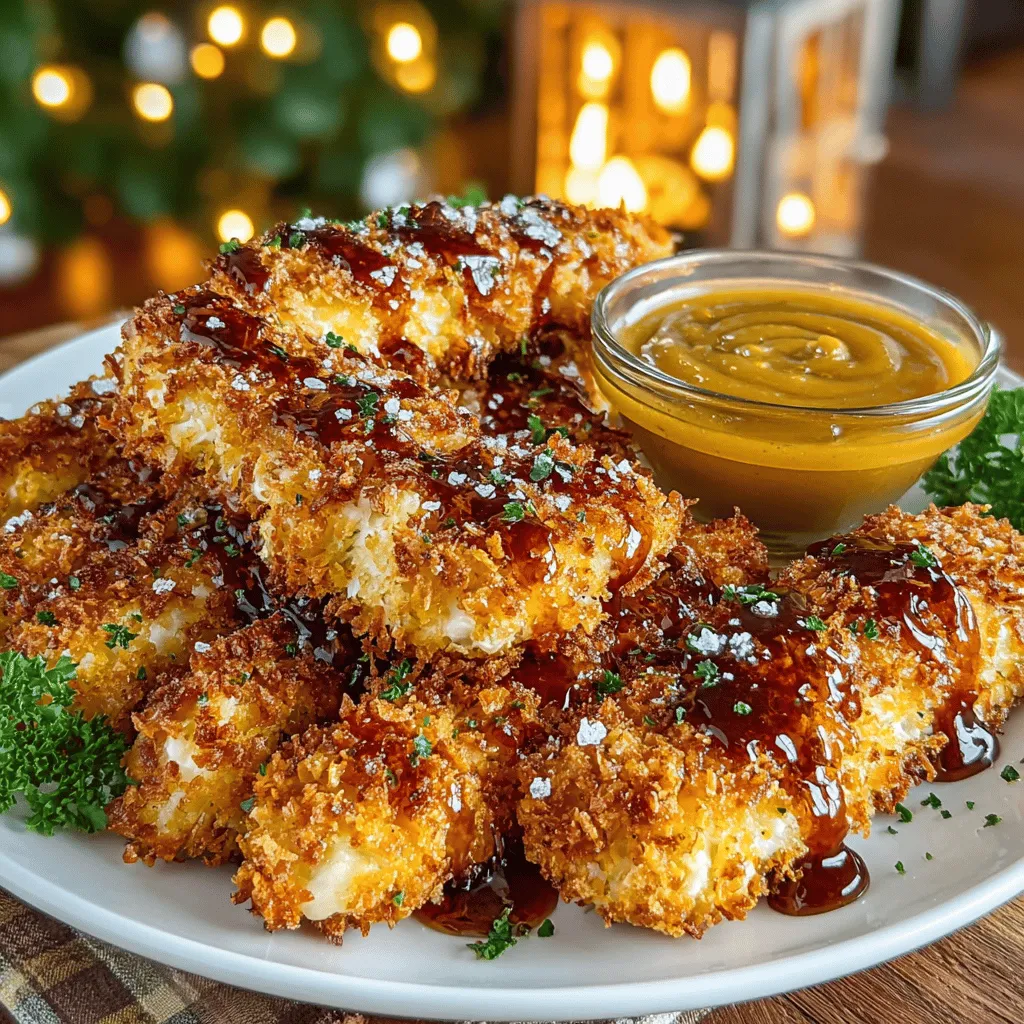
– Platter Arrangement: Place the crunchy chicken tenders on a large serving platter. Arrange them in a circular pattern with the honey mustard dip in the center, allowing guests to easily reach both the chicken and the sauce.
– Garnish: Add fresh herbs like parsley or cilantro for a pop of color and freshness. A sprinkle of paprika or cayenne pepper can also add visual appeal.
Pairing Suggestions
Pair your chicken tenders with sides that complement their flavors. Here are some ideas:
– Fresh Salads: A light green salad with a tangy vinaigrette will balance the richness of the chicken.
– Crispy Fries: Classic French fries or sweet potato fries are a beloved pairing that brings an extra crunch.
– Coleslaw: A tangy coleslaw can provide crunch and acidity, cutting through the richness of the fried chicken.
Creative Variations
Feel free to get creative with the coating. Add spices like smoked paprika, garlic powder, or Italian herbs to the flour mixture for added flavor. You can also experiment with different types of breadcrumbs, such as panko for extra crunch.
Nutritional Information
Understanding the nutritional content of your meal can help you maintain a balanced diet.
Overview of Calories and Macronutrients
A serving of Crunchy Chicken Euphoria (approximately 4 tenders with 2 tablespoons of honey mustard dip) contains:
– Calories: Approximately 400-500 calories, depending on the frying method and portion size.
– Protein: 30-35 grams, providing a substantial protein boost.
– Carbohydrates: 20-25 grams, primarily from the coating.
– Fat: 20-30 grams, depending on the oil used for frying.
Discussion on Portion Sizes and Balanced Meal Ideas
When serving Crunchy Chicken Euphoria, consider portion sizes. Pairing with a side of vegetables or a light salad can create a balanced meal. Adjust your serving sizes based on your dietary goals and preferences to ensure you enjoy this dish without overindulging.
Conclusion
Making homemade Crunchy Chicken Euphoria is a satisfying culinary adventure that brings the joys of comfort food to your kitchen. The crispy texture, combined with the sweet and tangy honey mustard dip, makes this dish a hit for families and gatherings alike.
This recipe is not only versatile but also allows for creativity in the kitchen. Whether you choose to add spices to the coating or experiment with different dipping sauces, the opportunity to customize is endless. Remember to enjoy the cooking process and take the time to savor your homemade chicken tenders.
So gather your ingredients, invite friends or family, and experience the joy of creating this delightful dish. Happy cooking!