Introduction
In recent years, wraps have surged in popularity within modern cuisine, becoming a go-to meal option for their versatility and ease of preparation. Whether for a quick lunch, a satisfying dinner, or a portable snack, wraps cater to a variety of tastes and preferences. Among the myriad of wrap recipes available, Baked Pimento Cheese Chicken Wraps stand out for their unique blend of flavors and textures that deliver both comfort and satisfaction in every bite.
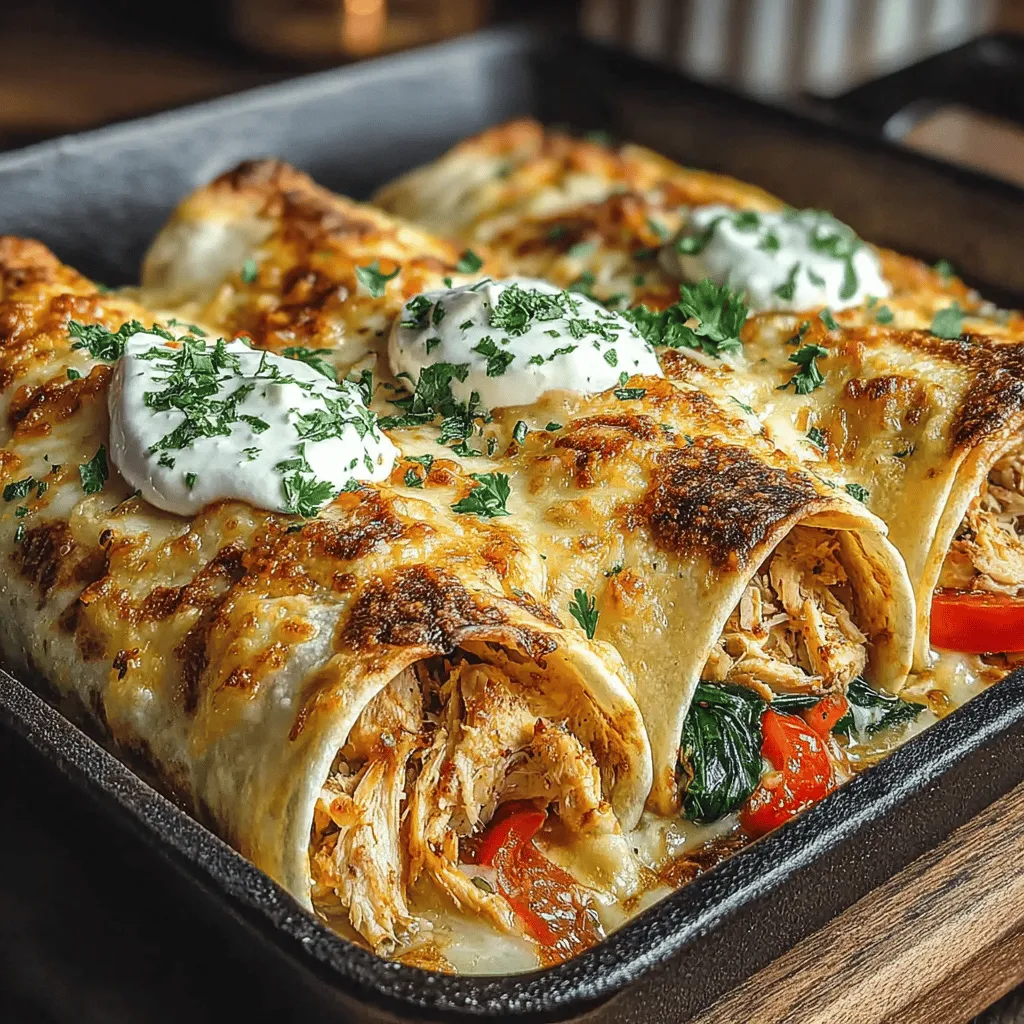
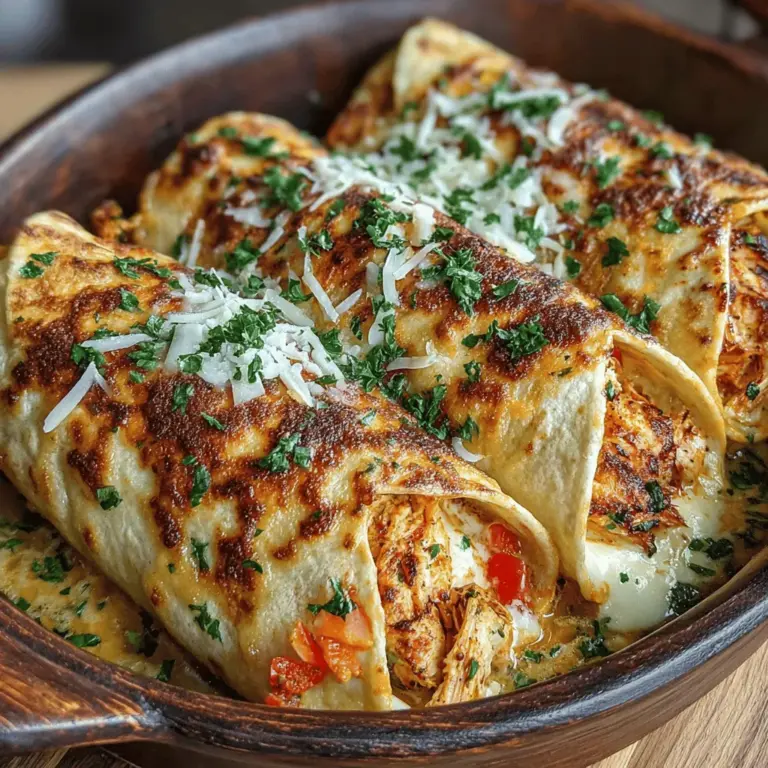
This delightful dish combines the creamy, tangy goodness of pimento cheese with tender, shredded chicken, all enveloped in a warm tortilla and baked to perfection. The result is a wrap that is not only delicious but also hearty enough to serve as a main course at family dinners or casual gatherings. Additionally, these wraps lend themselves well to meal prep, making them an excellent choice for those looking to streamline their weeknight dinners.
Understanding the Ingredients
To create the perfect Baked Pimento Cheese Chicken Wraps, it’s essential to understand the key ingredients and their roles in this delectable recipe.
Shredded Chicken
Shredded chicken is a cornerstone of this recipe, offering both convenience and a substantial source of protein. It’s easily prepared in advance, allowing for quick assembly when you’re ready to enjoy your wraps. Whether you opt for store-bought rotisserie chicken or cook your own, shredded chicken adds a savory element that pairs beautifully with the other ingredients.
Pimento Cheese
Next, we delve into pimento cheese, a beloved Southern staple renowned for its rich, creamy texture and vibrant flavor profile. This cheese spread typically comprises sharp cheddar cheese, cream cheese, mayonnaise, and diced pimentos, creating a delightful blend of tangy and savory notes. The pimento cheese not only infuses the wraps with flavor but also acts as a binding agent that holds the filling together, enhancing the overall experience.
Fresh Vegetables
To balance the richness of the pimento cheese and chicken, incorporating fresh vegetables is crucial. Spinach, bell peppers, and red onion add not just nutrition but also a burst of freshness and crunch. Spinach provides essential vitamins and minerals, while bell peppers contribute sweetness and color. Red onions add a subtle bite that complements the other flavors, making each wrap a well-rounded dish.
Optional Ingredients
While the core ingredients are essential for the classic version of this recipe, the inclusion of optional ingredients such as mozzarella cheese can elevate the overall taste and texture. Mozzarella, known for its gooey melt and mild flavor, can create an extra layer of creaminess when baked, ensuring that every bite is indulgent. Additionally, consider experimenting with other optional ingredients, like jalapeños for a kick or avocado for added creaminess.
Preparation Steps Explained
Now that we’ve covered the ingredients, let’s walk through the preparation steps to ensure your Baked Pimento Cheese Chicken Wraps turn out perfectly every time.
Preheating the Oven
The first step in preparing your Baked Pimento Cheese Chicken Wraps is preheating your oven. This is a crucial step in the baking process, as it ensures that the wraps cook evenly and achieve that desirable golden-brown exterior. Set your oven to 375°F (190°C) and allow it to reach the desired temperature while you prepare the filling. Preheating not only helps with even cooking but also reduces the overall baking time, allowing for a quicker meal.
Mixing the Filling
Once your oven is preheated, it’s time to mix the filling. In a large mixing bowl, combine your shredded chicken, pimento cheese, and the fresh vegetables. Here are some tips to achieve the perfect consistency and flavor balance:
1. Measure Ingredients Carefully: Start by measuring your ingredients accurately to ensure a balanced flavor. The chicken should be well-coated with the pimento cheese, while the vegetables should be evenly distributed throughout the mixture.
2. Mix Gently: Use a spatula or spoon to gently fold the ingredients together. Overmixing can make the filling too dense; instead, aim for a cohesive mixture that still has some texture.
3. Taste as You Go: As you mix, take a moment to taste the filling. Depending on your preference, you might want to add a pinch of salt, a dash of hot sauce, or additional spices to enhance the flavor.
4. Adjust Consistency: If the mixture feels too thick, consider adding a splash of milk or extra mayonnaise to achieve a creamier consistency. The filling should be spreadable but not runny.
With your filling perfectly mixed, you’re now ready to assemble the wraps and take the next steps toward creating a delicious, comforting meal that’s sure to please everyone at the table. Stay tuned for the following parts, where we’ll dive into the assembly process and baking techniques that will bring your Baked Pimento Cheese Chicken Wraps to life.

Assembling the Wraps
When it comes to assembling your Baked Pimento Cheese Chicken Wraps, technique is key to ensure that each wrap is secure and visually appealing. Start with a large, soft tortilla that can hold all the filling without tearing. To create a secure wrap, follow these steps:
1. Lay the Tortilla Flat: Place your tortilla on a clean, flat surface or a large cutting board.
2. Add Filling: Spoon an even amount of the pimento cheese mixture and cooked chicken into the center of the tortilla. Be mindful not to overfill, as this can make wrapping difficult.
3. Fold the Sides: Gently fold in the sides of the tortilla towards the center, ensuring they cover the filling.
4. Roll it Up: Starting from the bottom, roll the tortilla tightly over the filling, tucking in the sides as you go to create a burrito-style wrap. This method not only keeps the filling secure but also creates a neat presentation.
5. Presentation: For an extra touch, you can slice each wrap in half diagonally, exposing the colorful filling inside, and arrange them on a platter for serving. This not only makes for an appealing display but also makes it easier for guests to grab a portion.
Preparing the Baking Dish
A crucial step in the preparation of your Baked Pimento Cheese Chicken Wraps is the baking dish. Proper greasing and arranging of the wraps can significantly impact the final outcome. Here’s how to prepare your baking dish:
1. Greasing the Dish: Before placing the wraps in the baking dish, generously grease it with cooking spray or a thin layer of olive oil. This prevents sticking and ensures the wraps come out easily after baking.
2. Arranging the Wraps: Place the assembled wraps seam-side down in the greased baking dish. This positioning helps keep the wraps closed during baking. Arrange the wraps closely together, but not overcrowded, to allow for even heating.
Adding a Cheesy Topping
To elevate the Baked Pimento Cheese Chicken Wraps, consider adding a cheesy topping before baking. This final touch not only adds flavor but also enhances the visual appeal of the dish. Here’s how to do it:
1. Choose Your Cheese: Opt for a cheese that melts well, such as mozzarella or a blend of cheddar and Monterey Jack. You can also sprinkle some additional pimento cheese on top for an extra creamy layer.
2. Sprinkle Generously: Once the wraps are arranged in the baking dish, evenly sprinkle the cheese over the top. This will create a beautifully gooey and golden crust as the wraps bake.
3. Optional Seasoning: For an added flavor boost, sprinkle some paprika, garlic powder, or Italian herbs over the cheese before baking.
The Baking Process
Baking your wraps to perfection is crucial for achieving that golden, crispy exterior while keeping the inside warm and flavorful. Follow these steps for the best results:
1. Preheat the Oven: Start by preheating your oven to 375°F (190°C). This ensures that the wraps cook evenly and achieve a nice golden brown color.
2. Baking Time: Place the baking dish in the preheated oven and bake for about 20-25 minutes, or until the cheese is bubbly and slightly browned. Keep an eye on them to avoid over-baking, which can dry out the wraps.
3. Cooling: After baking, allow the wraps to cool for a few minutes before serving. This resting period helps the cheese set slightly, making the wraps easier to cut and serve.
Nutritional Breakdown
Understanding the nutritional content of your Baked Pimento Cheese Chicken Wraps is essential, especially for health-conscious individuals. Here’s a breakdown of the nutritional values per serving (based on two wraps):
– Calories: Approximately 400-450 calories
– Protein: About 30 grams, making it a great option for muscle repair and growth
– Fat: Roughly 25 grams, depending largely on the cheese and tortilla used
– Carbohydrates: Around 30 grams, providing energy for your day
– Fiber: About 2-3 grams, depending on the type of tortilla
Homemade vs. Store-Bought Pimento Cheese
If you’re considering the health implications of your ingredients, opting for homemade pimento cheese can be a significant advantage. Homemade versions typically contain fewer preservatives and additives compared to store-bought varieties. Additionally, you have direct control over the ingredients, allowing you to tailor the flavor and health aspects to your liking.
For a healthier twist, consider using reduced-fat cheese or Greek yogurt in your pimento cheese recipe, which can reduce the overall caloric and fat content while still delivering on taste.
Serving Suggestions and Pairings
To enhance your dining experience with the Baked Pimento Cheese Chicken Wraps, consider these serving suggestions:
Side Dishes
– Fresh Salads: A crisp garden salad or a tangy coleslaw pairs beautifully with the richness of the wraps. You could also try a simple arugula salad with lemon vinaigrette for a refreshing contrast.
– Vegetable Sticks: Serve with a platter of fresh vegetable sticks such as carrots, celery, and bell peppers for a crunchy, healthy side.
Dipping Sauces
– Ranch Dressing: A classic choice, ranch dressing complements the flavors of pimento cheese and adds a creamy element.
– Salsa or Guacamole: For a zesty kick, serve your wraps with fresh salsa or creamy guacamole. These dips add a fresh taste that balances the richness of the cheese.
Creative Variations
– Vegetarian Option: Substitute the chicken with black beans or grilled vegetables for a plant-based twist on the wraps.
– Gluten-Free Option: Use gluten-free tortillas to accommodate those with gluten sensitivities. This allows everyone to enjoy this delicious meal without worry.
Conclusion
Baked Pimento Cheese Chicken Wraps are not only simple to prepare but also incredibly delicious, making them an ideal meal for busy weeknights or casual gatherings. The combination of tender chicken, creamy pimento cheese, and crispy baked tortillas creates a flavor profile that is sure to please everyone at the table.
We encourage you to try this recipe and adjust it according to your flavor preferences. Whether you choose to stick with the classic version, experiment with variations, or add your favorite dips and sides, these wraps are perfect for sharing with family and friends. Embrace the joy of homemade meals, and enjoy the delightful experience of cooking and dining together.

