Introduction
Sourdough pizza has surged in popularity, captivating the hearts of home cooks and pizza enthusiasts alike. With its unique tangy flavor, chewy texture, and delightful crust, it stands apart from traditional pizza made with commercial yeast. The secret to achieving that distinct sourdough taste lies in using an active sourdough starter, which not only ferments the dough but also contributes to its overall depth of flavor. This quick sourdough pizza dough recipe simplifies the process, allowing you to enjoy homemade pizza with minimal fuss and maximum flavor.
In this article, we will explore the fascinating world of sourdough pizza dough, delving into the fermentation process and discussing the benefits of using an active sourdough starter. This recipe is designed to be straightforward and efficient, ensuring that you can whip up a batch of pizza dough without spending hours in the kitchen. Whether you’re an experienced baker or a novice, this quick sourdough pizza dough will quickly become a favorite in your culinary repertoire.
Understanding Sourdough Pizza Dough
The Magic of Sourdough Fermentation
Sourdough fermentation is a natural process that involves the interaction of wild yeast and beneficial bacteria in your sourdough starter. Unlike traditional yeast dough, which relies solely on commercial yeast for leavening, sourdough pizza dough undergoes a slow fermentation process. This not only helps the dough rise but also develops complex flavors and improves the dough’s overall digestibility.
The wild yeast present in sourdough starters ferments the sugars in the flour, producing carbon dioxide gas that causes the dough to rise. Meanwhile, lactic acid bacteria contribute to the sour taste, giving sourdough its signature tang. This dual fermentation process enhances the pizza dough, resulting in a crust that is crispy on the outside and chewy on the inside.
Sourdough Pizza Dough vs. Traditional Yeast Dough
When comparing sourdough pizza dough to traditional yeast dough, the differences are striking. Traditional yeast dough typically requires a shorter fermentation period, leading to a milder flavor profile. In contrast, sourdough pizza dough benefits from longer fermentation times, allowing for the development of richer flavors and improved texture.
Additionally, sourdough pizza dough is often more nutritious than its traditional counterpart. The fermentation process breaks down gluten and phytic acid, making the dough easier to digest and increasing the availability of nutrients. This is particularly beneficial for those who may be sensitive to gluten, as the fermentation process can help reduce gluten content.
The Role of an Active Sourdough Starter
An active sourdough starter is essential to achieving the right texture and flavor in your pizza dough. A well-maintained starter is bubbly, has a pleasant aroma, and is capable of leavening your dough effectively. To keep your starter active, it should be fed regularly with flour and water, typically once every 12 hours if kept at room temperature.
When using your sourdough starter for this pizza dough recipe, ensure it is at its peak activity – this means it should have doubled in size and be full of bubbles. Using an underactive starter can result in a dense and unappetizing crust, while an overfed starter may lack the necessary acidity for flavor development.
Ingredients Breakdown
Creating the perfect sourdough pizza dough requires a few essential ingredients. Below, we’ll break down each ingredient’s role in the dough and how they contribute to the final pizza.
Active Sourdough Starter
The star ingredient in this recipe, your active sourdough starter, is the key to flavor and leavening. It acts as a natural leavening agent, replacing commercial yeast. To maintain a vigorous starter, feed it with equal parts flour and water, ensuring it is bubbly and has risen within 4-6 hours before using it in your dough.
Flour: All-Purpose vs. Whole Wheat
The choice of flour significantly impacts the flavor and texture of your pizza dough. All-purpose flour is commonly used due to its versatility and moderate protein content, which provides a good balance of chewiness and crispness. Alternatively, whole wheat flour offers additional fiber and nutrients, imparting a nuttier flavor to your crust. For a balanced approach, consider using a combination of both flours.
Salt
Salt is a critical ingredient in pizza dough, enhancing flavor and contributing to the overall structure of the dough. It strengthens gluten, helping to create a more elastic and chewy texture. Moreover, salt regulates yeast activity, ensuring that the fermentation process occurs at a controlled pace, preventing over-proofing.
Olive Oil
Incorporating olive oil into your pizza dough adds richness and flavor while also contributing to a tender crust. The fat in olive oil coats the flour proteins, inhibiting gluten formation to some extent, which results in a softer, more pliable dough. Additionally, the flavor of high-quality olive oil can elevate your pizza to new heights.
Warm Water
Temperature plays a crucial role in yeast activation. Warm water (around 100°F or 38°C) encourages the fermentation process and helps the dough rise. Using water that is too hot can kill the yeast, while water that is too cold may slow down fermentation, resulting in a dense crust.
Optional Sugar or Honey
While sugar is not a mandatory ingredient in sourdough pizza dough, a small amount can enhance the flavor without overpowering the dough. It provides an additional food source for the yeast, promoting fermentation and contributing to a slightly caramelized crust when baked.
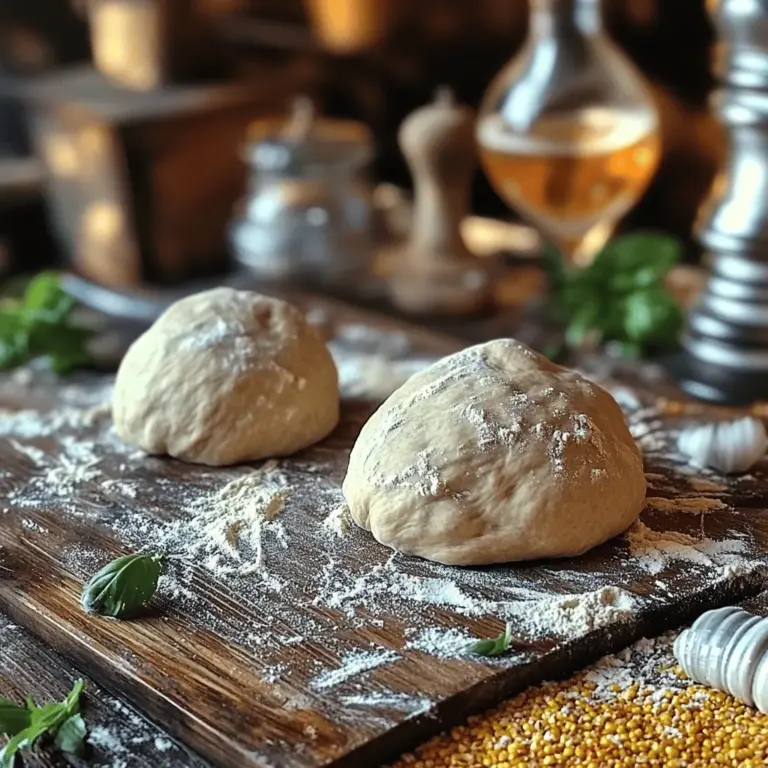
Cornmeal
Cornmeal is not used directly in the dough, but it is ideal for dusting your pizza peel or baking surface. It prevents the dough from sticking while providing a delightful texture to the crust. Additionally, cornmeal can add a subtle sweetness and a hint of crunch to the finished pizza.
Step-by-Step Instructions
Mixing the Dough
To prepare your quick sourdough pizza dough, begin by gathering all your ingredients and measuring them accurately. This will ensure a consistent and successful outcome.
1. Combine the Ingredients: In a large mixing bowl, combine 1 cup of active sourdough starter, 2 cups of all-purpose flour, 1 teaspoon of salt, and 1 tablespoon of olive oil. Gradually add about 3/4 cup of warm water to the mixture while stirring with a wooden spoon or a spatula.
2. Mix Until Incorporated: Stir until all the ingredients are well combined, and a shaggy dough forms. At this stage, the dough may appear uneven and slightly sticky, which is normal.
3. Kneading the Dough: Transfer the dough onto a lightly floured surface and knead it for about 5-7 minutes. The kneading process helps develop gluten, giving the dough its structure. As you knead, add a little more flour if the dough becomes too sticky, but be cautious not to add too much, as it can lead to a dense crust.
4. First Rise: Once the dough is smooth and elastic, place it back in the mixing bowl, cover it with a damp cloth or plastic wrap, and let it rise at room temperature for about 30 minutes to 1 hour. This short rise allows for some fermentation, which helps to develop flavor and structure.
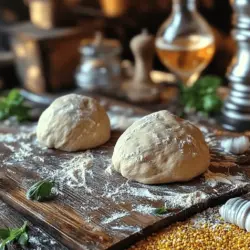
5. Shaping the Dough: After the first rise, gently punch down the dough to release any air bubbles. Divide the dough into two equal portions if making two pizzas. Shape each portion into a ball by tucking the edges under, creating a smooth surface.
6. Second Rise: Place the shaped dough balls on a floured surface or a baking sheet, cover them again with a damp cloth, and let them rise for another 30 minutes. This second rise will give the dough a bit more lift before baking.
Once the dough has completed its second rise, it will be ready to be shaped, topped, and baked into delicious homemade sourdough pizza. Stay tuned for the next section of this article, where we will explore how to roll out your dough, add toppings, and bake your pizzas to perfection!
Combining Dry Ingredients
To create a perfect sourdough pizza dough, the first step is to combine the dry ingredients correctly. This is crucial for achieving a consistent and flavorful dough. Begin by measuring out your flour, salt, and any additional dry ingredients you may wish to incorporate, such as garlic powder or dried herbs.
When mixing, ensure that the salt is evenly distributed throughout the flour. This step is essential because it prevents the salt from contacting the sourdough starter directly, which can inhibit yeast activity. Use a whisk or a fork to blend the flour and salt thoroughly, creating a uniform mixture that will provide a strong foundation for your dough.
Forming the Dough
Next, it’s time to form the dough itself. Begin by adding the sourdough starter into the dry mixture. It’s important to use a starter that has been fed within the last 4-6 hours, as this will ensure that it is active and bubbly, ready to leaven your dough.
Pour in the water gradually, mixing with your hands or a wooden spoon. The dough should come together into a shaggy mass; at this stage, you may need to adjust the hydration level. If the dough feels too dry, add a little more water. Conversely, if it’s too sticky, sprinkle in a bit more flour. The goal is to achieve a dough that is slightly tacky but not overly sticky.
Kneading
Once your dough is formed, it’s time to knead. This step is crucial for developing gluten, which gives the dough its elasticity and structure. You can knead by hand or use a stand mixer fitted with a dough hook.
If kneading by hand, turn the dough out onto a lightly floured surface and press it down with the heel of your hand, then fold it over itself. Repeat this process for about 8-10 minutes. You will know the dough is ready when it becomes smooth, elastic, and springs back when poked.
If using a stand mixer, knead on medium speed for about 5-7 minutes until the dough is smooth and slightly tacky.
First Rise
After kneading, it’s time for the first rise, which is essential for developing flavor and texture. Place the dough in a lightly oiled bowl, cover it with a damp cloth or plastic wrap, and let it rise in a warm, draft-free area. The dough should double in size, which typically takes about 1-2 hours depending on the temperature of your environment.
To determine if the dough is ready, gently poke it with your finger. If the indentation remains, it’s ready for the next step; if it springs back quickly, give it more time.
Shaping the Dough
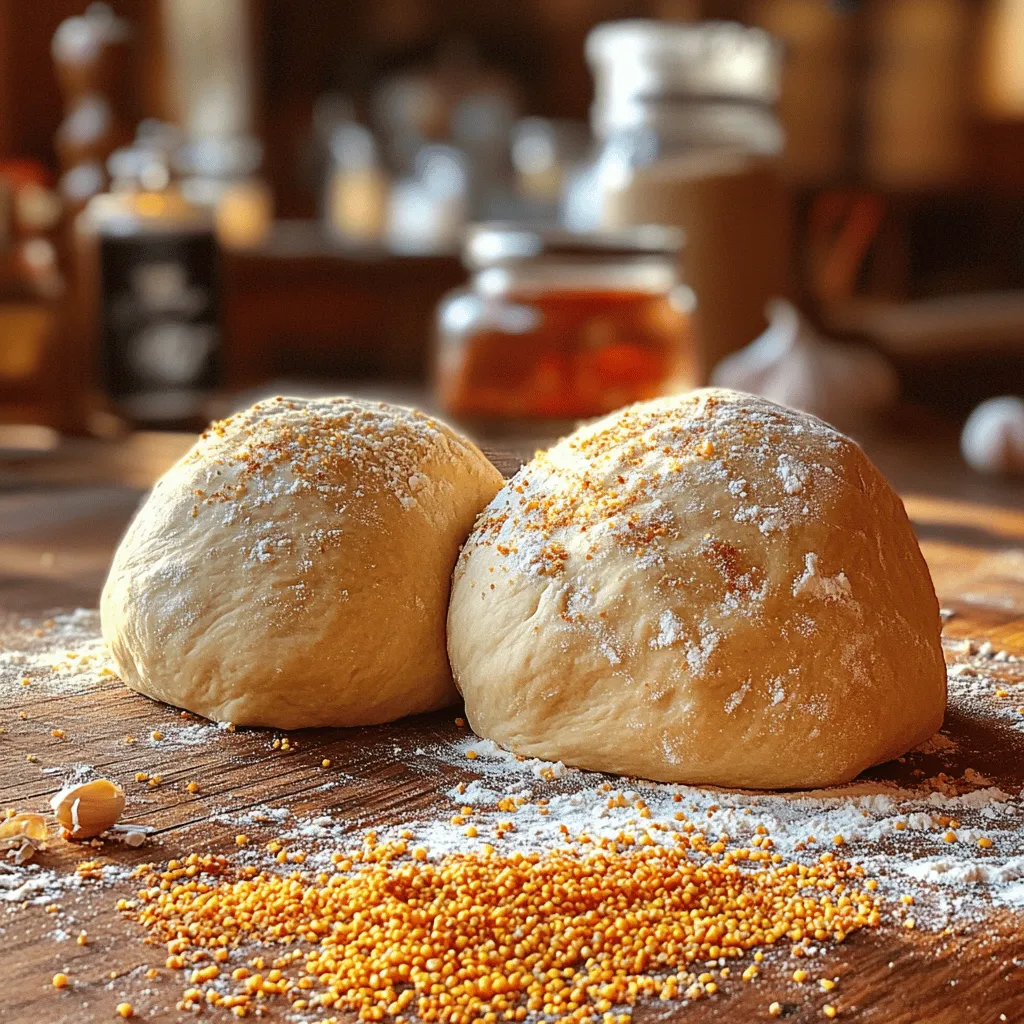
Once the dough has risen, it’s time to shape it. Begin by turning the dough out onto a lightly floured surface. Divide it into equal portions, depending on how many pizzas you plan to make. A standard recipe should yield about two medium-sized pizzas.
To shape the dough balls, gently flatten each piece and fold the edges toward the center, creating a round shape. Turn the dough ball over so the seam side is down and use your hands to gently roll it into a tighter ball. Allow these shaped dough balls to rest for about 30 minutes under a damp cloth; this rest period helps relax the gluten, making it easier to roll out later.
Preheating the Oven
Preheat your oven to its highest setting, usually around 475-500°F (245-260°C). If you have a pizza stone, place it in the oven while it preheats. A hot oven is essential for achieving a crispy crust, as it cooks the dough quickly, preventing it from becoming tough.
If you’re using a baking sheet instead of a pizza stone, make sure it’s also preheated to ensure the bottom of the pizza gets that desirable crunch.
Rolling Out
Now that your dough has rested, it’s time to roll it out into your desired shape and thickness. On a lightly floured surface, take one dough ball and gently press it down with your fingertips to flatten it.
Using a rolling pin, roll the dough out from the center towards the edges. Aim for a thickness of about ¼ inch for a chewy crust and adjust according to your preference. If the dough resists rolling, let it rest for a few more minutes to relax the gluten.
Adding Toppings
With your dough rolled out, it’s time to unleash your creativity with toppings. For a classic Margherita pizza, spread a layer of tomato sauce evenly over the base, sprinkle mozzarella cheese liberally, and add fresh basil leaves just before serving.
For a more adventurous twist, consider topping your pizza with roasted vegetables, spicy pepperoni, or even a drizzle of balsamic glaze after baking. The possibilities are endless, and this is where you can make your pizza truly unique.
Baking
Transfer your topped pizza to the preheated oven. If you’re using a pizza stone, use a pizza peel dusted with flour to slide the pizza onto the stone. If using a baking sheet, carefully place it in the oven.
Bake for about 10-15 minutes, monitoring closely. The pizza is ready when the crust is golden brown and the cheese is bubbling and slightly browned.
Serving
Once baked, remove your pizza from the oven and let it cool for a couple of minutes. This allows the cheese to set slightly, making it easier to slice. For presentation, consider garnishing with fresh herbs or a sprinkle of cheese. Serve your homemade sourdough pizza with a side of dipping sauce or salad for a complete meal.
Tips for Perfecting Your Sourdough Pizza Dough
Creating the perfect sourdough pizza dough can be a rewarding experience, but it comes with its challenges. Here are some common pitfalls and how to avoid them:
1. Too Sticky or Too Dry: This can often be resolved by adjusting the water content. In humid climates, you might need less water, while drier environments may require more.
2. Insufficient Kneading: Not kneading enough may lead to a dense crust. Ensure you knead until the dough is smooth and elastic.
3. Under or Over Fermentation: Keep an eye on the dough during the first rise. If it’s under-fermented, it will lack flavor; if over-fermented, it may collapse.
4. Improper Shaping: When shaping, be gentle to avoid deflating the dough. The goal is to maintain as much air as possible.
Pairing Suggestions
To complement your sourdough pizza, consider serving it alongside a fresh arugula salad dressed in a light vinaigrette. This adds a refreshing contrast to the rich flavors of the pizza.
For beverages, a light lager or a crisp white wine, such as Sauvignon Blanc, pairs beautifully. If you’re in the mood for something non-alcoholic, try sparkling water with a slice of lemon or a homemade lemonade.
Don’t forget to offer some dipping sauces on the side. A classic marinara, garlic oil, or even a spicy aioli can elevate the pizza experience and provide additional flavor profiles.
Conclusion
Making your own sourdough pizza dough is not just a culinary task; it’s a journey filled with creativity and satisfaction. The process of combining simple ingredients and transforming them into a flavorful base is incredibly rewarding. The unique taste and texture that sourdough brings to the pizza crust are unmatched, inviting you to experiment with various toppings and styles.
So, roll up your sleeves, gather your ingredients, and give this recipe a try. Enjoy the process, let your creativity shine, and celebrate the joy of homemade pizza with friends and family. Whether you stick to classic combinations or invent your own, every pizza crafted from your sourdough dough will be a delicious celebration of flavor and creativity.