Introduction
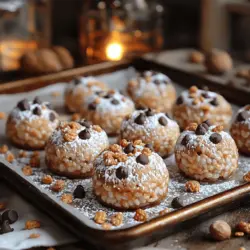
In the world of snacks, few treats are as universally loved as bliss balls. These bite-sized delights are not only delicious but also incredibly easy to make, making them a perfect choice for busy lifestyles or quick energy boosts. Today, we’re diving into the delightful recipe for Crunchy Peanut Butter Bliss Balls. These little bites of joy combine the rich flavors of peanut butter with the satisfying crunch of Rice Krispies, topped off with optional chocolate chips or nuts for an extra layer of indulgence. Whether you’re looking for a snack for the kids, a post-workout treat, or simply a sweet pick-me-up, these bliss balls will surely satisfy your cravings. Let’s explore how to create these irresistible snacks step-by-step.
Understanding the Allure of Bliss Balls
The Growing Popularity of Bliss Balls
In recent years, bliss balls have surged in popularity among health-conscious snackers and food enthusiasts alike. These no-bake energy bites have become a staple in many households due to their convenience and versatility. As more people seek healthier alternatives to traditional snacks, bliss balls have emerged as a perfect solution. They offer the sweetness we crave while incorporating nutritious ingredients, making them a go-to choice for anyone looking to indulge without the guilt.
Nutritional Benefits of Incorporating Bliss Balls into Your Diet
One of the primary reasons for the rising trend of bliss balls is their nutritional benefits. Depending on the ingredients used, bliss balls can be packed with protein, healthy fats, and fiber. For instance, peanut butter provides a significant source of protein and healthy fats, while Rice Krispies add a delightful crunch without overwhelming calories. Additionally, using natural sweeteners like honey or maple syrup can help you avoid refined sugars. This combination of ingredients makes bliss balls not only satisfying but also a smart choice for fueling your body throughout the day.
Versatility of Flavors and Ingredients in Bliss Ball Recipes
Another appealing aspect of bliss balls is their versatility. The basic structure of these snacks allows for endless flavor combinations. From nut butters to dried fruits, seeds to spices, the possibilities are virtually limitless. You can customize your bliss balls to suit your taste preferences or dietary requirements, making them suitable for vegan, gluten-free, or low-carb diets. This adaptability makes bliss balls a favorite among home cooks and food bloggers, as there’s always a new twist or flavor profile to try.
Ingredients Breakdown
Before we dive into the preparation steps, let’s take a closer look at the ingredients that make up our Crunchy Peanut Butter Bliss Balls. Understanding the role of each ingredient will help you appreciate the final product even more.
Detailed Overview of the Main Ingredients
1. Peanut Butter: The star ingredient of our bliss balls, peanut butter not only lends a creamy texture and rich flavor but also serves as a source of protein and healthy fats. When selecting peanut butter, it’s best to choose natural varieties without added sugars or hydrogenated oils for the healthiest option.
2. Rice Krispies: This classic cereal is key to achieving the delightful crunch that characterizes our bliss balls. The airy texture of Rice Krispies not only adds volume but also makes the bliss balls light and enjoyable to eat.
3. Sweetener (Honey or Maple Syrup): To balance the flavors and provide sweetness, we’ll need a natural sweetener. Honey is a popular choice for its rich flavor and health benefits, while maple syrup offers a unique taste profile. Both options are great, so you can choose based on your dietary preferences.
4. Vanilla Extract: A splash of vanilla extract enhances the overall flavor of the bliss balls, adding depth and a hint of sweetness. It’s a simple addition that can make a big difference in the taste.
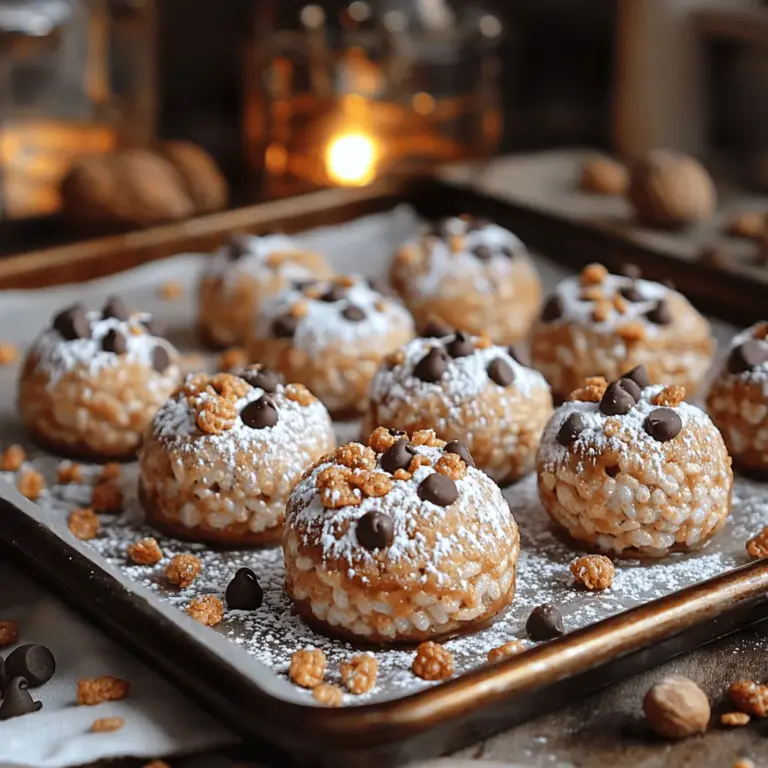
5. Optional Ingredients: To elevate the bliss balls further, you can add chocolate chips or chopped nuts. Chocolate chips introduce a sweet, melty element, while nuts can contribute additional crunch and flavor.
The Role of Rice Krispies in Texture and Crunch
Rice Krispies are more than just a crunchy component; they are essential for achieving the perfect texture in our bliss balls. Their light, airy structure allows the bliss balls to maintain a delicate crunch while balancing the creaminess of the peanut butter. This delightful contrast makes each bite satisfying and enjoyable.
How Peanut Butter Contributes to Flavor and Nutrition
Peanut butter is not just a flavor powerhouse; it also plays a crucial role in the nutritional profile of the bliss balls. Rich in protein, it provides sustained energy, making these snacks ideal for pre- or post-workout fuel. Additionally, peanut butter contains healthy monounsaturated fats, which can support heart health and keep you feeling full longer.
The Sweetness Factor: Honey vs. Maple Syrup
Choosing between honey and maple syrup can depend on personal taste and dietary restrictions. Honey is widely celebrated for its numerous health benefits, including its antioxidant properties and ability to soothe sore throats. On the other hand, maple syrup offers a unique flavor that can add a different dimension to your bliss balls. Both options are natural sweeteners that can enhance the overall taste without the guilt associated with refined sugars.
The Importance of Vanilla Extract in Enhancing Flavor
Vanilla extract is a small yet mighty ingredient in our bliss balls. This aromatic liquid not only complements the flavors of peanut butter and sweetener but also adds a warm, comforting note to the overall taste. Using pure vanilla extract, rather than imitation vanilla, ensures that your bliss balls are as flavorful as possible, elevating the entire snacking experience.
Optional Ingredients: Chocolate Chips and Nuts for Added Richness
While our Crunchy Peanut Butter Bliss Balls are delicious as they are, adding optional ingredients like chocolate chips or chopped nuts can take them to the next level. Chocolate chips bring a sweet, indulgent element, making them a favorite among children and adults alike. Meanwhile, nuts can introduce varying textures and flavors, allowing you to customize your bliss balls to your liking.
Preparation Steps
Now that we have a solid understanding of the ingredients and their roles, let’s move on to the preparation steps for creating these Crunchy Peanut Butter Bliss Balls.
Setting Up Your Workspace
Before you begin cooking, it’s essential to set up your workspace for a smooth cooking experience. A clean and organized kitchen not only enhances your efficiency but also ensures food safety. Gather all your ingredients and tools beforehand to avoid any last-minute searches.
– Clean Your Countertop: Wipe down your workspace to create a hygienic area for food preparation.
– Gather Your Tools: You will need a mixing bowl, a baking sheet, parchment paper, and a spatula for mixing and shaping the bliss balls.
Importance of a Clean and Organized Kitchen
A clean kitchen is vital for any cooking endeavor. Not only does it promote a safe environment, but it also allows for better focus and creativity. A clutter-free space helps you to concentrate on your recipe and reduces the chance of mistakes.
How to Properly Line a Baking Sheet for Best Results
Properly lining your baking sheet ensures easy cleanup and prevents the bliss balls from sticking. To line a baking sheet:
1. Choose the Right Size: Select a baking sheet that will accommodate your bliss balls without overcrowding.
2. Use Parchment Paper: Cut a piece of parchment paper to fit the baking sheet, leaving an overhang for easy removal of the bliss balls later. This will help prevent sticking and make it simpler to transfer the bliss balls to a storage container.
Mixing the Wet Ingredients
With your workspace set up and your baking sheet lined, it’s time to mix the wet ingredients. This step is crucial as it forms the base of your bliss balls.
1. Combine the Peanut Butter and Sweetener: In a mixing bowl, add your chosen peanut butter and sweetener (honey or maple syrup).
2. Add Vanilla Extract: Pour in the vanilla extract to enhance the flavor.
3. Mix Until Smooth: Using a spatula or a whisk, stir the mixture until it becomes smooth and well combined. Ensure there are no lumps of peanut butter remaining.
Tips for Choosing the Right Peanut Butter
Selecting the right peanut butter can significantly affect the outcome of your bliss balls. Opt for natural peanut butter that contains only peanuts and perhaps a pinch of salt. Avoid varieties with added sugars or hydrogenated oils, as these can alter the taste and texture of your bliss balls. If you prefer a different nut butter, feel free to experiment with almond or cashew butter for a unique twist.
Combining the Dry Ingredients
Once your wet ingredients are mixed to perfection, it’s time to incorporate the dry ingredients.
1. Add the Rice Krispies: Gradually fold in the Rice Krispies, ensuring they are evenly distributed throughout the mixture.
2. Incorporate Powdered Sugar and Salt: Add a pinch of salt to balance the sweetness, followed by powdered sugar to achieve a slight sweetness and help bind the ingredients together.
Understanding the Significance of Powdered Sugar and Salt
Powdered sugar serves two purposes in this recipe. Not only does it provide sweetness, but its fine texture helps to bind the ingredients, creating a cohesive mixture. A small amount of salt is essential as it enhances the overall flavor profile, highlighting the sweetness of the bliss balls.
With these steps completed, you’re now equipped with the foundational knowledge and preparation techniques to make your Crunchy Peanut Butter Bliss Balls. The next part of this article will delve into the remaining steps for shaping, storing, and enjoying these delightful snacks. Stay tuned for a step-by-step guide that will leave you with a satisfying and nutritious treat that you can enjoy anytime!
How to Incorporate Optional Ingredients for Enhanced Flavor
When it comes to crafting the perfect batch of Crunchy Peanut Butter Bliss Balls, the beauty lies in their versatility. While the base recipe is delicious on its own, adding optional ingredients can elevate the flavor profile and provide added nutritional benefits. Consider incorporating ingredients such as chia seeds, flaxseeds, or shredded coconut for extra texture and health benefits.
Chia seeds are a fantastic source of omega-3 fatty acids and can add a delightful crunch. Flaxseeds, on the other hand, are rich in fiber and can help improve digestion. Shredded coconut not only contributes a tropical flavor but also enhances the chewiness of your bliss balls.
In addition to these ingredients, you can experiment with spices such as cinnamon or nutmeg, which can add warmth and depth to the flavor. A splash of vanilla extract can also enhance the sweetness without the need for additional sugar. When choosing optional ingredients, consider your personal preferences and dietary needs to create a bliss ball that is uniquely yours.
Bringing It All Together
Once you’ve gathered your ingredients and decided on any optional additions, it’s time to bring everything together. First, ensure that your dry ingredients are well-mixed. This is crucial for achieving an even flavor throughout your bliss balls. You can do this by combining your oats, nut butter, sweetener, and any optional ingredients in a large mixing bowl.
Techniques for Ensuring an Even Mixture
To achieve a homogeneous blend, it’s essential to use the right mixing technique. Start by using a wooden spoon or a spatula to stir the mixture thoroughly. If your mixture is particularly thick, consider using your hands to knead it gently. This method allows you to feel the consistency and ensure that all ingredients are well incorporated.
Alternatively, you can utilize a food processor to blend everything together. This method is particularly effective if you’ve added tougher ingredients like nuts or seeds, as it ensures a smoother mixture. Just pulse the ingredients until everything is combined, but be careful not to over-process; you want to retain some texture for that delightful crunch.
Signs that Your Mixture is Ready for Shaping
Before you start shaping your bliss balls, it’s important to ensure that the mixture has reached the right consistency. The mixture should be sticky enough to hold together when pressed, but not so wet that it falls apart. A good test is to take a small amount of the mixture and squeeze it in your hand; if it holds its shape, you’re ready to proceed.
Shaping and Chilling the Bliss Balls
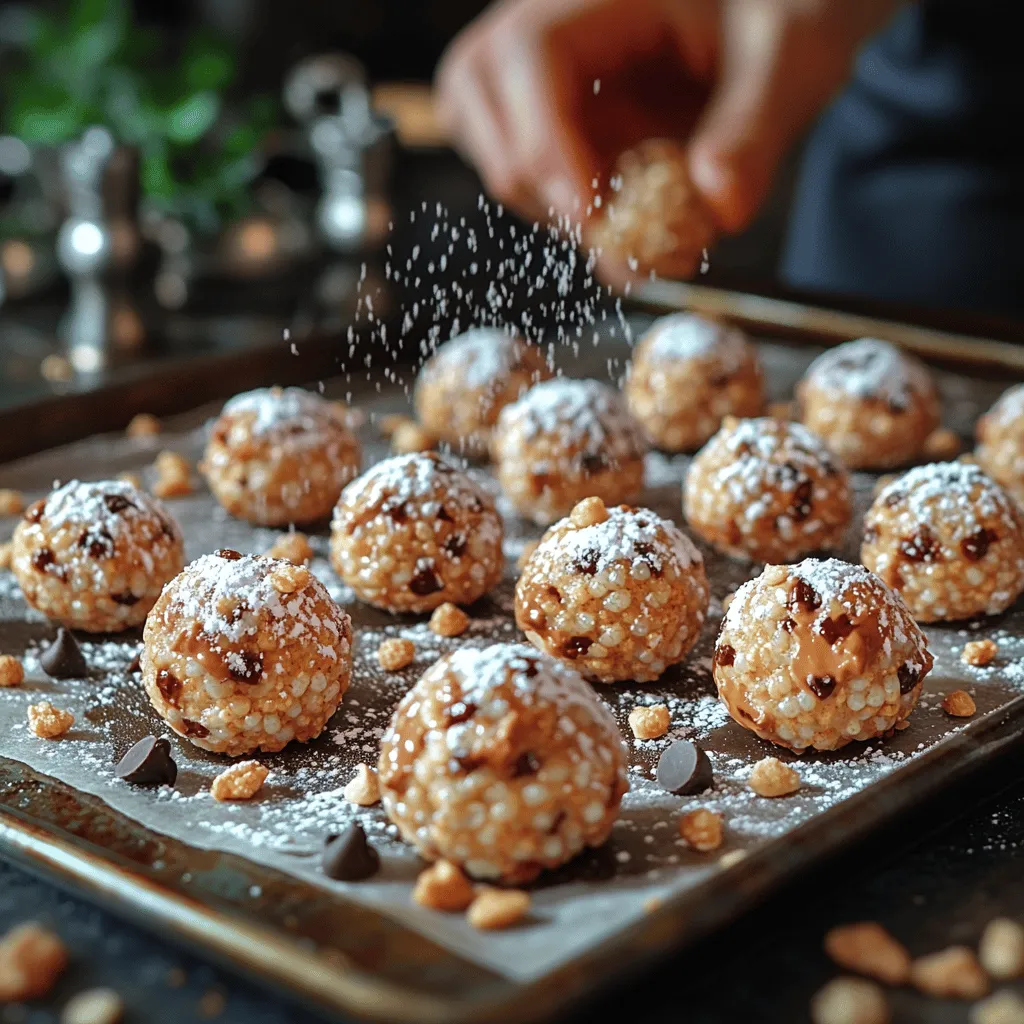
Now comes the fun part: shaping your bliss balls! Use a small cookie scoop or your hands to portion out the mixture. Aim for a size similar to that of a golf ball for uniformity.
How to Roll the Perfect Bliss Ball
To roll the perfect bliss ball, take a portion of the mixture and gently roll it between your palms. The warmth of your hands will help to compact the mixture, giving it a smooth surface. If you find that the mixture is too sticky, lightly dampen your hands with water or oil to prevent it from sticking.
Tips for Uniformity in Size and Texture
For consistent size and texture, always use the same measuring tool or scoop for each ball. This not only makes for a more visually appealing presentation but also ensures that each bliss ball has a similar taste and texture. After rolling each ball, consider rolling them in additional toppings such as crushed nuts, cocoa powder, or shredded coconut for an extra crunch and flavor boost.
The Chilling Process: Why It Matters for Firmness
Once your bliss balls are shaped, it’s crucial to chill them in the refrigerator for at least 30 minutes. This step allows the flavors to meld together and gives the bliss balls time to firm up. Chilling also enhances the texture, making them easier to bite into while maintaining their shape. If you prefer a firmer texture, consider chilling them for a longer period or even placing them in the freezer for a quick set.
Serving Suggestions
Creative Ways to Enjoy Your Bliss Balls
Crunchy Peanut Butter Bliss Balls can be enjoyed in various ways, making them a wonderful addition to your snack repertoire. They are perfect as a quick breakfast on the go, a post-workout snack, or a mid-afternoon pick-me-up. Pair them with fresh fruit, like apple slices or banana halves, for a more substantial snack that balances protein and carbohydrates.
Pairing Options with Beverages or Other Snacks
These bliss balls pair beautifully with a variety of beverages. Enjoy them with a glass of almond milk, coconut milk, or your favorite plant-based milk for a creamy complement. If you’re a coffee lover, try pairing them with a rich espresso or a frothy latte; the nutty flavors will enhance the experience. For a more substantial treat, accompany your bliss balls with yogurt, drizzled with honey or maple syrup.
Presentation Ideas for Parties or Gatherings
If you’re looking to impress guests at a gathering, consider creating a bliss ball platter. Arrange your bliss balls on a beautiful serving tray, and accompany them with an assortment of dips or spreads, such as dark chocolate sauce or a fruity jam. You can also sprinkle some chopped nuts or seeds around the platter for a decorative touch.
Storage Tips
Best Practices for Storing Bliss Balls
To keep your Crunchy Peanut Butter Bliss Balls fresh, proper storage is key. Place them in an airtight container, which will help prevent moisture from affecting their texture. You can also layer parchment paper between the bliss balls in the container to avoid sticking.
How to Maintain Freshness and Flavor Over Time
For optimal freshness, store your bliss balls in the refrigerator. This will keep them firm and flavorful. If you find you have made a large batch, consider freezing some for later. They can be stored in the freezer for up to three months. Just ensure they are in a freezer-safe container or tightly wrapped to prevent freezer burn.
Understanding Shelf Life in the Refrigerator
In the refrigerator, your bliss balls will last for about one week. If you notice any changes in texture or flavor after this time, it’s best to discard them. Always check for any signs of spoilage, such as an off smell or mold.
Nutritional Information
Approximate Calorie Count per Bliss Ball
Each Crunchy Peanut Butter Bliss Ball contains approximately 100 calories, making it a guilt-free treat. This calorie count can vary slightly based on the specific ingredients used and any optional add-ins you choose to include.
Breakdown of Macronutrients: Protein, Fats, and Carbohydrates
On average, each bliss ball provides around 4 grams of protein, 5 grams of healthy fats, and 8 grams of carbohydrates. This macronutrient profile makes them an excellent source of energy, particularly for those who lead an active lifestyle.
Potential Dietary Adjustments for Different Lifestyles
These bliss balls can easily be adjusted to cater to various dietary needs. For a vegan option, ensure that all nut butters and sweeteners used are plant-based. For those following a gluten-free diet, use certified gluten-free oats. You can also modify the sweetness level according to your preferences, by reducing the amount of sweetener or using natural alternatives like mashed bananas or applesauce.
Conclusion
Crunchy Peanut Butter Bliss Balls are a delightful and nutritious treat that can easily become a staple in your snack repertoire. With their simple preparation and versatility, they cater to various tastes and dietary needs. This recipe not only satisfies sweet cravings but also offers a healthy alternative to traditional snacks, making it an excellent choice for families, athletes, and anyone looking to indulge without the guilt. Whether enjoyed at home or on the go, these bliss balls are sure to bring joy and satisfaction to your day. With the ability to customize ingredients, the rich flavors and satisfying textures make these bliss balls a truly indulgent yet wholesome treat. So roll up your sleeves, get creative in the kitchen, and enjoy every bite of your Crunchy Peanut Butter Bliss Balls!