Crispy Shrimp Tempura Rolls: A Delightful Sushi Experience
Sushi has transcended its origins in Japan to become a beloved dish enjoyed worldwide. From traditional nigiri to colorful maki rolls, sushi offers a delightful fusion of flavors and textures that appeal to a wide range of palates. In recent years, the trend of making sushi at home has gained momentum, allowing enthusiasts to explore their culinary creativity while enjoying fresh, personalized flavors. Among the myriad of sushi options, crispy shrimp tempura rolls stand out as a mouthwatering choice that combines the crunch of tempura with the freshness of sushi.
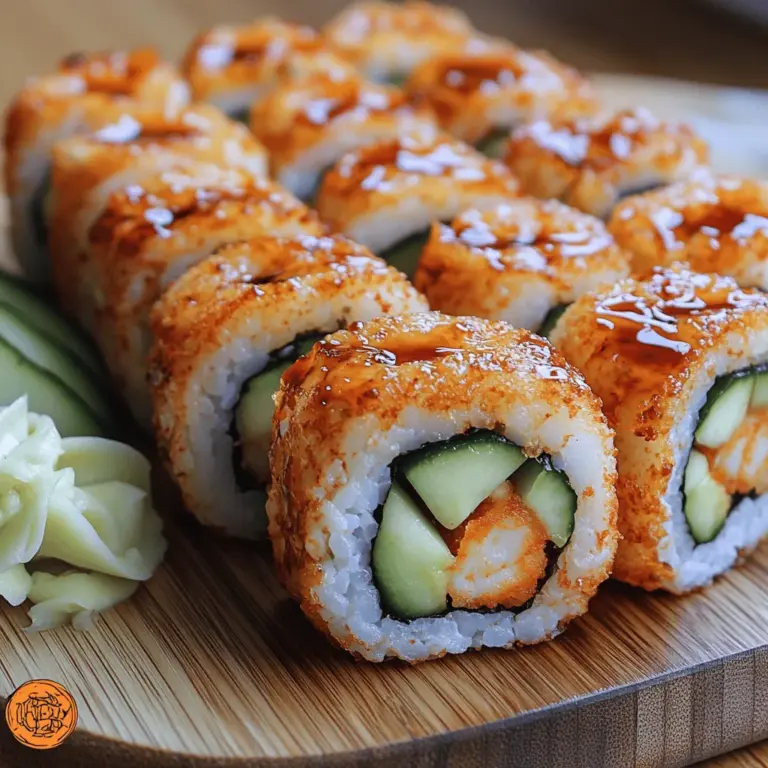
Crispy shrimp tempura rolls are more than just a dish; they are an experience. The combination of lightly battered, golden shrimp nestled within seasoned sushi rice and wrapped in nori creates a symphony of textures. The crispy exterior of the tempura contrasts beautifully with the tender shrimp and the soft, sticky rice, while the slight chewiness of the nori adds another layer to each bite. This roll is not only visually appealing but also offers a satisfying crunch that can be addictive.
To create the perfect crispy shrimp tempura rolls, it’s essential to use fresh, high-quality ingredients and to master some basic sushi techniques. This article will guide you through the process, from selecting the right shrimp and preparing sushi rice to crafting the ideal tempura batter.
Understanding Sushi Rice
At the heart of any great sushi roll lies the sushi rice. Sushi rice is short-grain rice, known for its sticky texture when cooked. The stickiness is crucial; it helps the rice hold together when forming rolls. Unlike regular rice, sushi rice is treated with a blend of rice vinegar, sugar, and salt after cooking, giving it a distinctive flavor that complements the other ingredients in the roll.
To achieve the perfect sushi rice, start by rinsing the rice thoroughly under cold water. This step is vital as it removes excess starch, preventing the rice from becoming overly sticky and gummy. Rinse the rice until the water runs clear, which usually takes about five to six rinses. Once rinsed, soak the rice for about 30 minutes to allow it to absorb water, which will help it cook evenly.
When cooking sushi rice, use a rice cooker or a pot with a tight-fitting lid. The typical water-to-rice ratio for sushi rice is 1:1, but this can vary slightly depending on the type and brand. After cooking, let the rice sit for about 10 minutes to steam, then transfer it to a large bowl or a wooden sushi tub (hangiri) for seasoning.
To season the rice, mix rice vinegar, sugar, and salt in a small bowl until dissolved. Gently fold the mixture into the warm rice using a wooden spatula, being careful not to mash the grains. This step not only enhances the flavor of the rice but also helps it achieve the proper texture needed for rolling.
Selecting the Right Shrimp
Choosing the right shrimp is crucial for creating delicious tempura rolls. Generally, large or extra-large shrimp are preferred, as they provide a satisfying bite and hold up well during the cooking process. Varieties such as Gulf shrimp, tiger shrimp, or even black tiger shrimp are excellent choices due to their firm texture and sweet flavor. When purchasing shrimp, look for ones that have a firm texture, a mild sea-like smell, and a translucent appearance.
Before cooking, it’s important to prepare the shrimp properly. Start by peeling the shrimp, leaving the tails on or off according to your preference. Next, devein the shrimp by making a shallow incision along the back and removing the dark vein. This step not only improves the shrimp’s appearance but also enhances the overall taste of your rolls.
Creating the Perfect Tempura Batter
The batter is what makes the tempura shrimp crispy and delicious. A classic tempura batter is light and airy, allowing the natural flavors of the shrimp to shine through while providing a satisfying crunch. You can either use a store-bought tempura batter mix or make your own from scratch. While pre-made mixes can be convenient, homemade batter typically yields a fresher taste and better texture.
To prepare the batter, combine equal parts of all-purpose flour and cornstarch in a bowl. For an extra light and crispy texture, consider adding a pinch of baking powder. The secret to achieving the perfect tempura batter lies in the temperature of the liquid used. Use ice-cold sparkling water instead of regular water; the carbonation helps create a lighter batter. Mix the ingredients gently until just combined, being careful not to overmix. Clumps are acceptable, as they contribute to the batter’s texture.
Frying Techniques for Crispy Shrimp
Frying is a crucial step in creating perfectly crispy tempura shrimp. To achieve the desired texture, you’ll need some essential equipment. A deep pot or a heavy-bottomed skillet will work well for frying, along with a thermometer to monitor the oil temperature accurately. The ideal frying temperature for shrimp tempura is around 350°F to 375°F.
Once the oil reaches the proper temperature, carefully dip the prepared shrimp into the tempura batter, allowing excess batter to drip off before gently placing them into the hot oil. Avoid overcrowding the pot, as this can cause the temperature to drop and result in soggy shrimp. Fry the shrimp for about 2-3 minutes or until they turn a beautiful golden brown. Use a slotted spoon to remove the shrimp and transfer them to a plate lined with paper towels to absorb any excess oil.
By following these steps, you’ll be well on your way to creating the perfect crispy shrimp tempura rolls. The combination of fresh ingredients, the right techniques, and a little practice will lead to a sushi experience that’s not only delicious but also rewarding. Enjoy the process, and soon you’ll be impressing friends and family with your homemade sushi creations.
Assembling Your Sushi Rolls
Creating sushi rolls requires a bit of preparation, and this is where the concept of mise en place becomes crucial. This French culinary term translates to “everything in its place,” and it emphasizes the importance of having all your ingredients prepped and ready before you begin rolling your sushi. This not only streamlines the process but also enhances your efficiency, allowing you to create beautiful and delicious rolls without any last-minute scrambling.
Step-by-Step Instructions for Laying Out Nori and Sushi Rice
1. Prepare Your Workspace: Start by laying down a bamboo sushi mat on a clean, flat surface. This will serve as your rolling station.
2. Place the Nori: Take a sheet of nori and place it shiny side down on the bamboo mat. Ensure that the long edge of the nori is aligned with the edge of the mat closest to you. This orientation makes it easier to roll.
3. Spread the Sushi Rice: Wet your hands with a mixture of water and rice vinegar to prevent the rice from sticking. Grab a handful of sushi rice (about ½ cup) and gently spread it over the nori, leaving about an inch of space at the top edge. Use your fingers to evenly distribute the rice, applying gentle pressure to ensure it adheres to the nori but avoiding crushing it.
4. Season the Rice: Lightly sprinkle a bit of salt over the rice for added flavor. You can also drizzle a little rice vinegar for a tangy taste, enhancing the overall sushi experience.
Tips for Layering Ingredients
The key to a well-balanced sushi roll is the layering of flavors. Here’s how to layer your ingredients effectively:
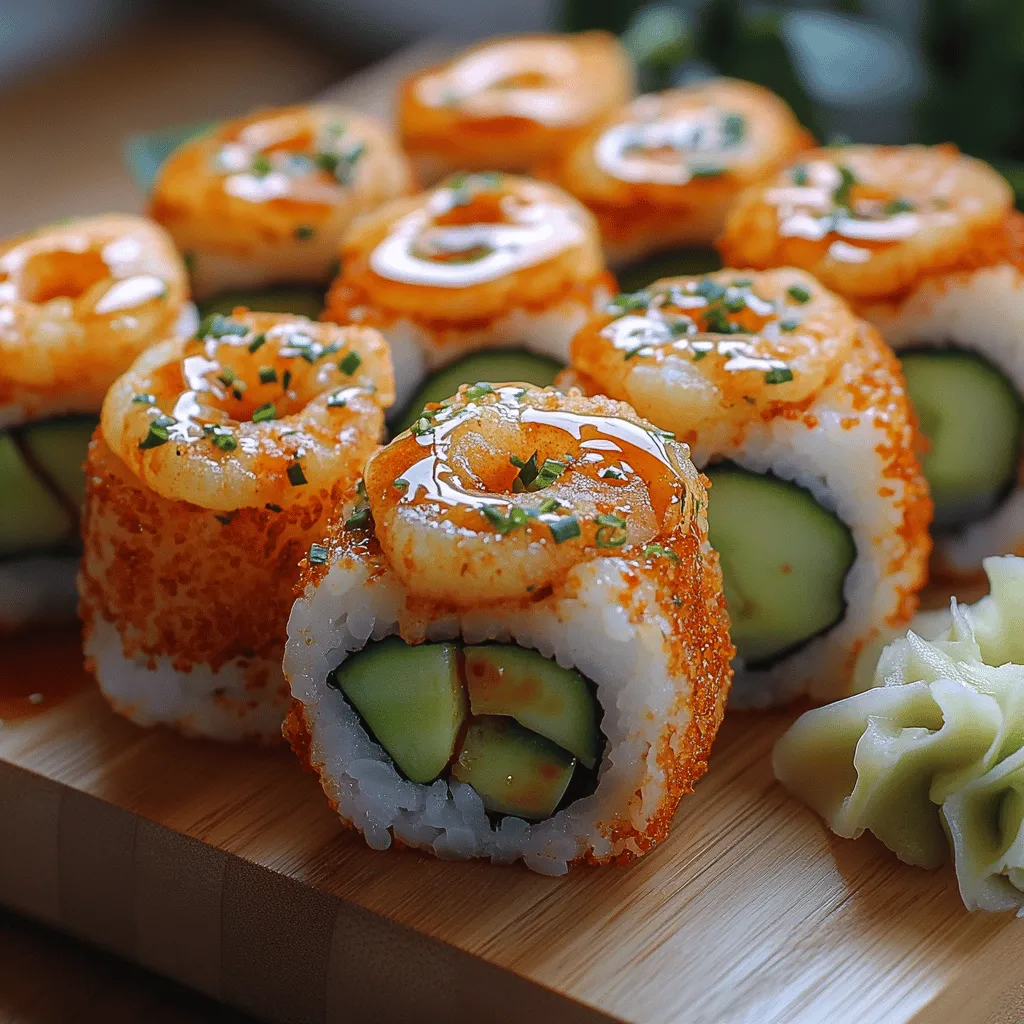
– Shrimp: Place your crispy shrimp tempura horizontally across the center of the rice. Make sure the shrimp are evenly spaced to ensure every bite contains a delicious piece.
– Avocado: Next, add slices of ripe avocado alongside the shrimp. The creaminess of the avocado complements the crunch of the shrimp, balancing textures and flavors.
– Cucumber: Finally, place thinly sliced cucumber next to the avocado. The cucumber adds a refreshing crunch and a hint of sweetness that enhances the overall taste of the roll.
When layering, aim for a colorful presentation. The contrasting colors of the green avocado, the golden shrimp, and the bright cucumber will make your sushi visually appealing.
Rolling Your Sushi Like a Pro
Once your fillings are neatly arranged, it’s time to roll. Mastering the rolling technique is essential for creating tight, uniform sushi rolls.
Techniques for Using a Bamboo Mat Effectively
1. Start Rolling: Begin at the edge of the bamboo mat closest to you. Carefully lift the edge of the mat and fold it over the fillings. Use your fingers to keep the fillings in place as you roll.
2. Apply Pressure: As you roll, apply gentle but firm pressure. The goal is to create a tight roll without squishing the ingredients. The bamboo mat should assist you in applying even pressure throughout the roll.
3. Tuck and Roll: As you roll, tuck the fillings in with your fingers. This action will help keep everything compact and prevent the roll from falling apart.
Sealing the Roll Properly
After rolling, you’ll need to seal the sushi roll to keep it intact:
– Moisten the Edge of the Nori: Use a little water on your fingertips and run it along the top edge of the nori. This moisture will help the nori adhere to itself, sealing the roll.
– Finish Rolling: Complete the roll by gently pressing the bamboo mat to secure the seal. Ensure the roll is tight but not overly compressed.
Slicing and Presentation
Now that your sushi roll is complete, it’s time to slice and present your masterpiece.
Techniques for Slicing Sushi Rolls Cleanly and Evenly
1. Use a Sharp Knife: A sharp knife is crucial for slicing sushi. A dull knife will crush the roll instead of cutting through it cleanly.
2. Wet the Knife: Before slicing, dip the knife in water. This reduces friction and helps prevent the rice from sticking to the blade.
3. Wipe Between Cuts: After each cut, wipe the knife clean with a damp cloth or paper towel. This ensures that each slice remains neat and tidy, showcasing the colorful fillings.
Suggestions for Plating the Sushi Rolls Attractively
Presentation is key when it comes to sushi. Here are some tips for an attractive display:
– Cut the Rolls into Even Pieces: Aim for about six to eight slices per roll, depending on the size. Each piece should showcase the beautiful cross-section of ingredients.
– Arrange Artistically: Use a large plate or platter and arrange the sushi pieces in a fan shape or in neat rows. Garnish with a sprinkle of sesame seeds or a few slices of radish for added color.
– Add Accompaniments: Serve your sushi with small bowls of soy sauce, wasabi, and pickled ginger on the side. This not only enhances the flavor but also adds to the presentation.
Serving Suggestions and Accompaniments
When it comes to serving your crispy shrimp tempura rolls, there are traditional and creative options to consider.
Traditional Accompaniments
– Soy Sauce: A classic dipping sauce that balances the richness of the shrimp and avocado.
– Wasabi: For those who enjoy a kick, a small dab of wasabi can be added to the soy sauce for an extra punch of flavor.
– Pickled Ginger: This is traditionally served with sushi to cleanse the palate between different rolls.
Ideas for Creative Presentation and Serving Styles
– Sushi Boats: Consider using a sushi boat or a bamboo platter for a themed presentation, perfect for entertaining guests.
– Sushi Rolls with Garnishes: Top your rolls with a drizzle of eel sauce or spicy mayo for a gourmet touch.
Discussion of Pairing Options
– Drinks: Pair your sushi with a light-bodied white wine, such as a Sauvignon Blanc, or traditional Japanese drinks like sake or green tea.
– Side Dishes: Consider serving with edamame, miso soup, or seaweed salad to create a complete meal.
Conclusion
Making crispy shrimp tempura rolls at home is not just a culinary endeavor; it’s a delightful experience that brings joy and satisfaction. The process of assembling, rolling, and presenting your sushi can be a fun activity for family and friends. It allows for creativity and experimentation with various ingredients and flavors, leading to unique sushi creations that reflect your personal taste.
Don’t hesitate to explore different fillings beyond shrimp, avocado, and cucumber. Try incorporating ingredients like spicy tuna, mango, or even cream cheese for an unexpected twist. Sharing your homemade sushi with loved ones is incredibly rewarding and can make any gathering feel special. So gather your ingredients, roll up your sleeves, and enjoy the delightful world of sushi-making at home.
